07/06/2026 06:43น.
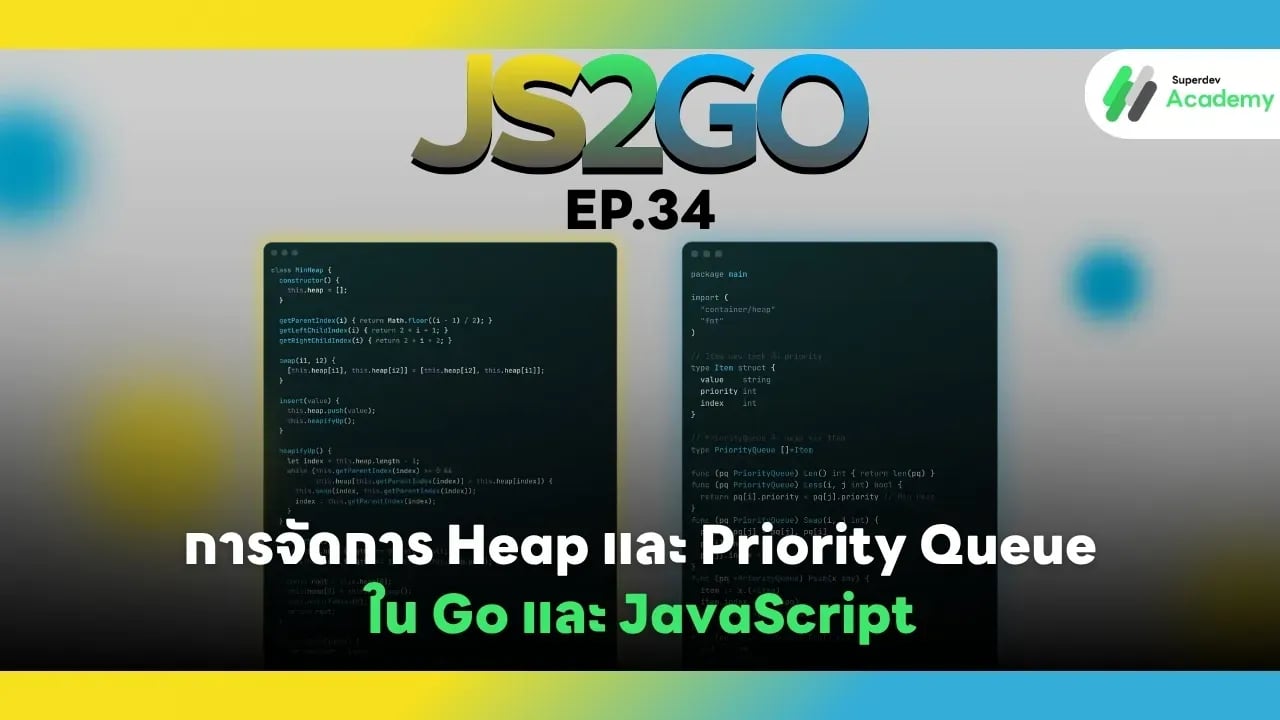
JS2GO EP.34 การจัดการ Heap และ Priority Queue ใน Go และ JavaScript
#Heap
#Priority Queue
#Go
#JavaScript
#JS2GO
เมื่อระบบของคุณต้องจัดลำดับการทำงานของ task เช่น Job Queue, Pathfinding (A*), หรือ Recommendation Engine คุณจำเป็นต้องมีโครงสร้างข้อมูลที่สามารถ “เลือกข้อมูลที่สำคัญที่สุดก่อน” ได้อย่างมีประสิทธิภาพ และนั่นคือเหตุผลที่ Heap และ Priority Queue เข้ามามีบทบาทสำคัญในโลกของการพัฒนาโปรแกรม
ในบทความนี้ เราจะอธิบายหลักการทำงานของ Heap และ Priority Queue พร้อม ตัวอย่างโค้ดจริงทั้งใน JavaScript และ Go
รวมถึง แนวทางปฏิบัติ (Best Practices) สำหรับใช้งานในระบบจริง 🚀
1. ทำความเข้าใจกับ Heap
Heap คือโครงสร้างข้อมูลแบบ Tree ที่ใช้ในการจัดลำดับข้อมูลตาม “ลำดับความสำคัญ” (priority)
โดยทั่วไปแบ่งออกเป็น 2 ประเภทหลัก:
- Min-Heap: ค่าที่เล็กที่สุดจะอยู่บนสุดของโครงสร้าง
- Max-Heap: ค่าที่ใหญ่ที่สุดจะอยู่บนสุดของโครงสร้าง
Heap ถูกใช้อย่างแพร่หลายในระบบที่ต้องการ Priority Scheduling, Shortest Path (Dijkstra), หรือ Task Queue ที่ต้องเลือก task สำคัญก่อนเสมอ
2. การใช้งาน Heap ใน JavaScript
JavaScript ไม่มี Heap เป็น built-in data structure แต่สามารถสร้างขึ้นเองได้ง่าย ๆ ด้วย class หรือใช้ library เช่น heap-js
🔹 ตัวอย่าง: การสร้าง Min-Heap ด้วย JavaScript
class MinHeap {
  constructor() {
    this.heap = [];
  }

  getParentIndex(i) { return Math.floor((i - 1) / 2); }
  getLeftChildIndex(i) { return 2 * i + 1; }
  getRightChildIndex(i) { return 2 * i + 2; }

  swap(i1, i2) {
    [this.heap[i1], this.heap[i2]] = [this.heap[i2], this.heap[i1]];
  }

  insert(value) {
    this.heap.push(value);
    this.heapifyUp();
  }

  heapifyUp() {
    let index = this.heap.length - 1;
    while (this.getParentIndex(index) >= 0 &&
           this.heap[this.getParentIndex(index)] > this.heap[index]) {
      this.swap(index, this.getParentIndex(index));
      index = this.getParentIndex(index);
    }
  }

  extractMin() {
    if (this.heap.length === 0) return null;
    if (this.heap.length === 1) return this.heap.pop();

    const root = this.heap[0];
    this.heap[0] = this.heap.pop();
    this.heapifyDown(0);
    return root;
  }

  heapifyDown(index) {
    let smallest = index;
    const left = this.getLeftChildIndex(index);
    const right = this.getRightChildIndex(index);

    if (left < this.heap.length && this.heap[left] < this.heap[smallest]) smallest = left;
    if (right < this.heap.length && this.heap[right] < this.heap[smallest]) smallest = right;

    if (smallest !== index) {
      this.swap(index, smallest);
      this.heapifyDown(smallest);
    }
  }
}

// ทดสอบการใช้งาน
const minHeap = new MinHeap();
minHeap.insert(5);
minHeap.insert(2);
minHeap.insert(8);
minHeap.insert(1);

console.log(minHeap.extractMin()); // 1
console.log(minHeap.extractMin()); // 2
ผลลัพธ์:
1
2
ข้อดี:
✅ เข้าใจง่ายและสามารถ customize ได้
✅ เหมาะสำหรับฝึกอัลกอริทึม หรือใช้ในระบบ simulation
ข้อจำกัด:
❌ ต้อง implement เอง
❌ ไม่มี type safety
3. การใช้งาน Heap และ Priority Queue ใน Go
ภาษา Go มี package มาตรฐานชื่อ container/heap ที่ช่วยให้เราสามารถจัดการ heap ได้โดยตรงและปลอดภัยด้วย type checking
🔹 ตัวอย่าง: การสร้าง Priority Queue ใน Go
package main

import (
	"container/heap"
	"fmt"
)

// Item แทน task ที่มี priority
type Item struct {
	value    string
	priority int
	index    int
}

// PriorityQueue คือ heap ของ Item
type PriorityQueue []*Item

func (pq PriorityQueue) Len() int { return len(pq) }
func (pq PriorityQueue) Less(i, j int) bool {
	return pq[i].priority < pq[j].priority // Min-Heap
}
func (pq PriorityQueue) Swap(i, j int) {
	pq[i], pq[j] = pq[j], pq[i]
	pq[i].index = i
	pq[j].index = j
}
func (pq *PriorityQueue) Push(x any) {
	item := x.(*Item)
	item.index = len(*pq)
	*pq = append(*pq, item)
}
func (pq *PriorityQueue) Pop() any {
	old := *pq
	n := len(old)
	item := old[n-1]
	*pq = old[0 : n-1]
	return item
}

func main() {
	pq := make(PriorityQueue, 0)
	heap.Init(&pq)

	heap.Push(&pq, &Item{value: "Job A", priority: 3})
	heap.Push(&pq, &Item{value: "Job B", priority: 1})
	heap.Push(&pq, &Item{value: "Job C", priority: 2})

	for pq.Len() > 0 {
		item := heap.Pop(&pq).(*Item)
		fmt.Printf("%s (priority %d)\n", item.value, item.priority)
	}
}
ผลลัพธ์:
Job B (priority 1)
Job C (priority 2)
Job A (priority 3)
ข้อดีของ Go:
✅ มี heap package ให้ใช้งานได้ทันที
✅ Type-safe และมีประสิทธิภาพสูง
✅ เหมาะกับระบบ production เช่น job queue, scheduler, และ background worker
4. แนวทางปฏิบัติที่เหมาะสม (Best Practices)
| Use Case | เหมาะกับภาษา | คำแนะนำ |
|---|---|---|
| Algorithm Simulation | JavaScript | เขียน heap เองเพื่อฝึกเข้าใจอัลกอริทึมพื้นฐาน |
| Production Queue System | Go | ใช้ container/heap เพื่อประสิทธิภาพสูงสุด |
| Pathfinding (A*, Dijkstra) | ทั้งสองภาษา | ใช้ Priority Queue เพื่อหาทางที่สั้นที่สุด |
| Task Scheduling / Job Management | Go | ใช้ Priority Queue เพื่อควบคุมลำดับงานอย่างมีประสิทธิภาพ |
5. สรุปเปรียบเทียบ Heap และ Priority Queue
| คุณสมบัติ | JavaScript | Go |
|---|---|---|
| Built-in Support | ❌ ไม่มี | ✅ มี (container/heap) |
| Type Safety | ❌ ไม่มี | ✅ มี |
| Performance | ปานกลาง | สูงมาก |
| Suitable For | ฝึก algorithm, simulation | ระบบจริง, job scheduling |
| Ease of Use | เข้าใจง่าย | ต้อง implement interface |
สรุปท้ายบท
การเข้าใจการทำงานของ Heap และ Priority Queue จะช่วยให้คุณสามารถสร้างระบบที่จัดลำดับความสำคัญของงานได้อย่างมีประสิทธิภาพ ไม่ว่าจะเป็น Job Queue, Pathfinding Engine, หรือ Task Manager
- 💡 ถ้าคุณต้องการ “ความยืดหยุ่นและเข้าใจพื้นฐานอัลกอริทึม” → ใช้ JavaScript
- ⚙️ ถ้าคุณต้องการ “ประสิทธิภาพระดับ Production และระบบคิวที่แข็งแรง” → ใช้ Go
ตอนต่อไป
ใน EP.35 ของซีรีส์ JS2GO เราจะพาคุณไปเรียนรู้เรื่อง Sorting Algorithms ทั้งใน JavaScript และ Go เพื่อเปรียบเทียบวิธีการจัดเรียงข้อมูล เช่น Bubble Sort, Merge Sort, Quick Sort, และการใช้งาน Go’s sort package ว่าภาษาไหนทำได้เร็วกว่ากัน และเทคนิคไหนเหมาะกับระบบของคุณมากที่สุด 🔥
อ่านบทความ Series อื่นๆ
🔵 Facebook: https://www.facebook.com/superdev.academy.th
🔴 YouTube : Superdev Academy
📸 Instagram: Superdev Academy
🎬 TikTok: https://www.tiktok.com/@superdevacademy?lang=th-TH
🌐 Website: https://www.superdevacademy.com/