07/06/2026 06:43น.
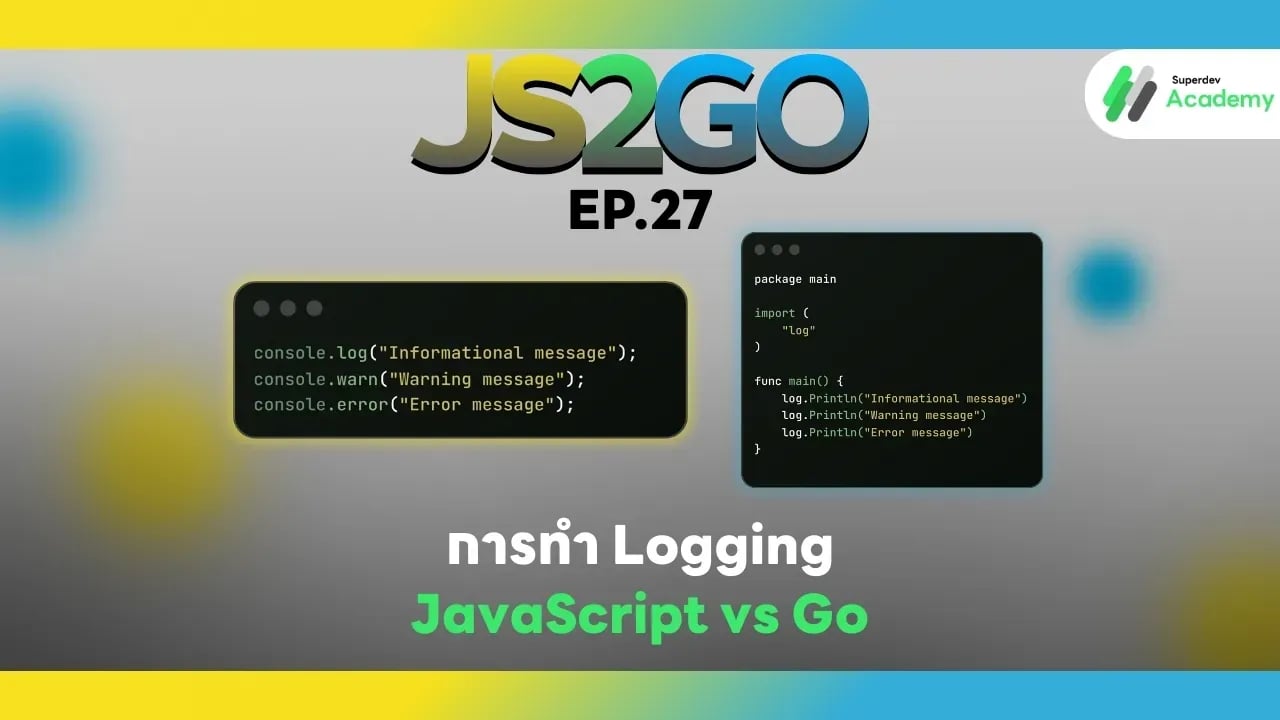
JS2GO EP.27 การทำ Logging: JavaScript vs Go
#Logging
#Go
#JavaScript
#Node.js
#JS2GO
การทำ Logging เป็นส่วนสำคัญของการพัฒนาโปรแกรม ไม่ว่าจะเป็นการ debug, monitor, หรือ track ปัญหาใน production การจัดการ log อย่างถูกต้องช่วยให้คุณสามารถติดตามเหตุการณ์ในโค้ด วิเคราะห์ปัญหา และแก้ไขได้อย่างรวดเร็ว บทความนี้จะสอนวิธีการทำ Logging ใน JavaScript (Node.js) และ Go พร้อมตัวอย่างโค้ดและแนวทางปฏิบัติที่ดีที่สุด
1. Logging ใน JavaScript (Node.js)
JavaScript มี object console สำหรับ logging พื้นฐาน แต่ใน production ควรใช้ library เช่น Winston หรือ Pino เพื่อจัดการ log อย่างมืออาชีพ
ตัวอย่าง Logging พื้นฐานด้วย console
console.log("Informational message");
console.warn("Warning message");
console.error("Error message");
ตัวอย่าง Logging ด้วย Winston
const winston = require('winston');

const logger = winston.createLogger({
  level: 'info',
  format: winston.format.combine(
      winston.format.timestamp(),
      winston.format.json()
  ),
  transports: [
    new winston.transports.Console(),
    new winston.transports.File({ filename: 'app.log' })
  ]
});

logger.info('Server started');
logger.warn('Low disk space');
logger.error('Database connection failed');
ข้อดีของ JavaScript Logging
✔️ ใช้งานง่ายและมี ecosystem ขนาดใหญ่
✔️ รองรับ log levels, timestamp, และ file output
✔️ สามารถ integrate กับ monitoring tools เช่น Loggly, Datadog
ข้อจำกัด
⚠️ การใช้ console.log ใน production จะไม่มี level control
⚠️ ต้องใช้ library เพิ่มเติมเพื่อจัดการ production logging
2. Logging ใน Go
Go มี log package built-in สำหรับ logging พื้นฐาน และ library เสริม เช่น Logrus หรือ Zap สำหรับ production-ready structured logging
ตัวอย่าง Logging พื้นฐานด้วย log
package main

import (
    "log"
)

func main() {
    log.Println("Informational message")
    log.Println("Warning message")
    log.Println("Error message")
}
ตัวอย่าง Logging ด้วย Logrus
package main

import (
    log "github.com/sirupsen/logrus"
)

func main() {
    log.SetFormatter(&log.JSONFormatter{})
    log.SetLevel(log.InfoLevel)

    log.Info("Server started")
    log.Warn("Low disk space")
    log.Error("Database connection failed")
}
ข้อดีของ Go Logging
✔️ Type-safe และ compile-time error checking
✔️ รองรับ structured logging (JSON)
✔️ รองรับ log levels, file output, และ integration กับ monitoring
ข้อจำกัด
⚠️ Syntax verbose กว่า JavaScript
⚠️ ต้อง import library เสริมเพื่อ structured logging
3. แนวทางปฏิบัติที่เหมาะสม
✔️ กำหนด log levels ให้ชัดเจน: Info / Warn / Error / Debug
✔️ ใช้ timestamp และ context ใน log เพื่อวิเคราะห์ปัญหาใน production
✔️ แยก log file ตาม environment:
- development: console
- production: file / remote logging
✔️ ใช้ structured logging (JSON format) เพื่อให้อ่านและ parse ง่าย
✔️ หลีกเลี่ยงการ log ข้อมูล sensitive เช่น password, token, personal data
4. สรุปเปรียบเทียบ Logging JavaScript vs Go
| Feature | JavaScript | Go |
|---|---|---|
| Built-in | console | log |
| Library | winston, pino | logrus, zap |
| Levels | info, warn, error | Info, Warn, Error, Debug |
| Format | plain text / JSON | plain text / JSON |
| Structured logging | ✔️ (library) | ✔️ (library) |
| Type safety | ❌ No | ✔️ Yes |
| Production-ready | ต้องใช้ library | library หรือ built-in log |
คำแนะนำ:
✔️ Web apps / frontend-heavy apps → ใช้ Node.js + Winston/Pino
✔️ Backend / server / microservices → ใช้ Go + Logrus/Zap
ตอนต่อไป
ใน EP.28 ของซีรีส์ JS2GO เราจะพาคุณไปเรียนรู้ การจัดการ Errors เชิงลึก: Stack Trace และ Logging เพื่อให้คุณสามารถ debug และวิเคราะห์ปัญหาในระบบได้อย่างมืออาชีพ
อ่านบทความ Series อื่นๆ
🔵 Facebook: https://www.facebook.com/superdev.academy.th
🔴 YouTube : Superdev Academy
📸 Instagram: Superdev Academy
🎬 TikTok: https://www.tiktok.com/@superdevacademy?lang=th-TH
🌐 Website: https://www.superdevacademy.com/