View : 252
07/06/2026 06:44am
EP.48 Adding Chat History Display System in WebSocket Chat
#Chat Storage
#Persistent Chat
#Message History
#WebSocket API
#Real-Time Chat
#Golang
#Go
#WebSocket
#Chat History
Why Have a Chat History Feature?
The Chat History feature allows users to view old messages even after closing the chat window. This offers several benefits:
- Continuous Conversations: Users can return to their conversations without losing context.
- Important Records: Provides a way to keep evidence or important information from discussions.
- Enhanced User Experience: Completes the functionality of the WebSocket Chat application.
Structure of the Chat History System in WebSocket Chat
- WebSocket Server: Responsible for storing and retrieving chat history from the database.
- Database (PostgreSQL / MongoDB): Stores the messages that have been sent.
- Frontend (Client-Side): Loads and displays old messages as soon as the user logs in.
Adding the Chat History Feature to the WebSocket Server
1. Creating a Database for Storing Messages
File: schema.sql
CREATE TABLE chat_messages (
    id SERIAL PRIMARY KEY,
    sender TEXT NOT NULL,
    content TEXT NOT NULL,
    timestamp TIMESTAMP DEFAULT CURRENT_TIMESTAMP
);
2. Adding Code to Save Messages to the Database
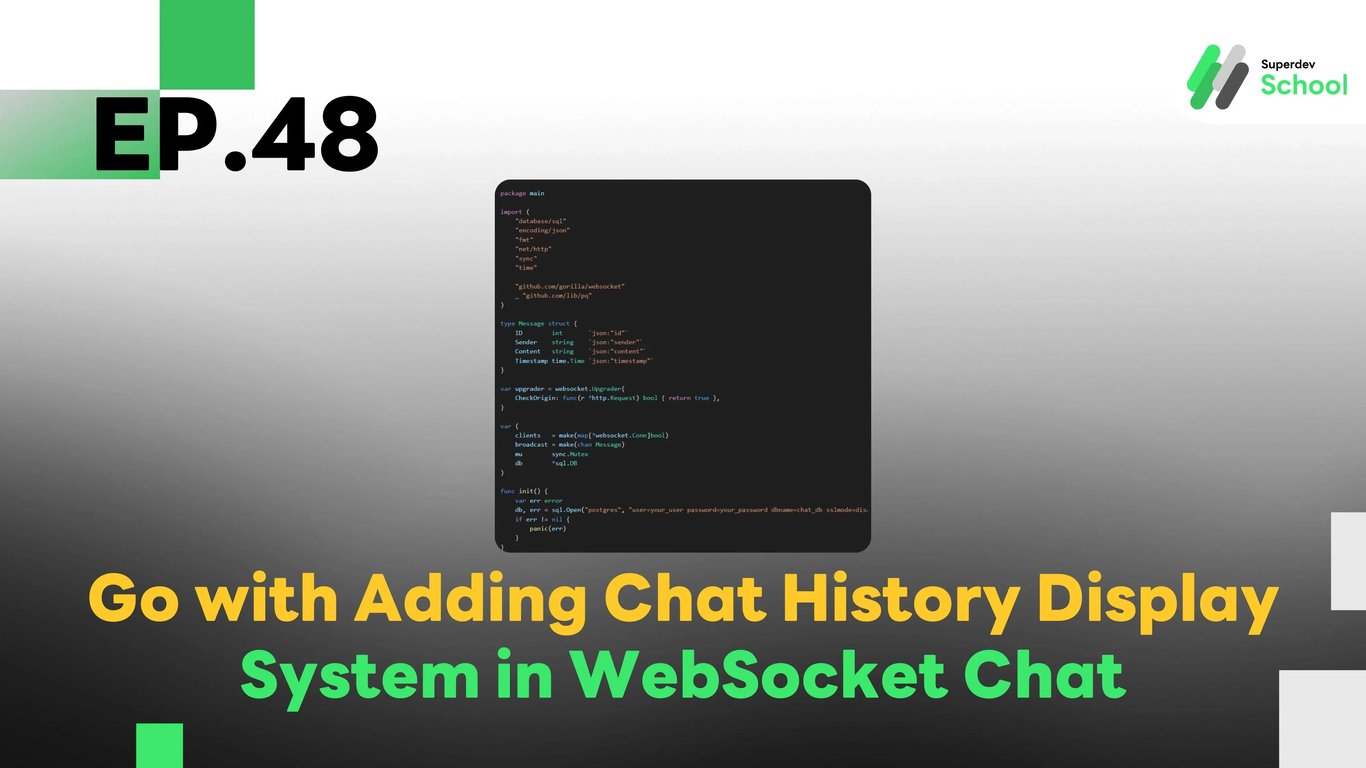
File: websocket_server.go
package main

import (
    "database/sql"
    "encoding/json"
    "fmt"
    "net/http"
    "sync"
    "time"

    "github.com/gorilla/websocket"
    _ "github.com/lib/pq"
)

type Message struct {
    ID        int       `json:"id"`
    Sender    string    `json:"sender"`
    Content   string    `json:"content"`
    Timestamp time.Time `json:"timestamp"`
}

var upgrader = websocket.Upgrader{
    CheckOrigin: func(r *http.Request) bool { return true },
}

var (
    clients   = make(map[*websocket.Conn]bool)
    broadcast = make(chan Message)
    mu        sync.Mutex
    db        *sql.DB
)

func init() {
    var err error
    db, err = sql.Open("postgres", "user=your_user password=your_password dbname=chat_db sslmode=disable")
    if err != nil {
        panic(err)
    }
}

func handleConnections(w http.ResponseWriter, r *http.Request) {
    conn, _ := upgrader.Upgrade(w, r, nil)
    defer conn.Close()
    clients[conn] = true

    rows, _ := db.Query("SELECT id, sender, content, timestamp FROM chat_messages ORDER BY timestamp ASC")
    defer rows.Close()

    for rows.Next() {
        var msg Message
        rows.Scan(&msg.ID, &msg.Sender, &msg.Content, &msg.Timestamp)
        conn.WriteJSON(msg)
    }

    for {
        var msg Message
        err := conn.ReadJSON(&msg)
        if err != nil {
            delete(clients, conn)
            break
        }

        db.Exec("INSERT INTO chat_messages (sender, content) VALUES ($1, $2)", msg.Sender, msg.Content)
        broadcast <- msg
    }
}

func handleMessages() {
    for {
        msg := <-broadcast
        for client := range clients {
            err := client.WriteJSON(msg)
            if err != nil {
                client.Close()
                delete(clients, client)
            }
        }
    }
}

func main() {
    http.HandleFunc("/ws", handleConnections)
    go handleMessages()
    fmt.Println("WebSocket Server Running on Port 8080")
    http.ListenAndServe(":8080", nil)
}
3. Loading Chat History on the Frontend (Client-Side)
File: client.js
const socket = new WebSocket("ws://localhost:8080/ws");
const chatContainer = document.getElementById("chat-container");

socket.onmessage = (event) => {
    const data = JSON.parse(event.data);
    displayMessage(data.sender, data.content, data.timestamp);
};

function displayMessage(sender, content, timestamp) {
    const msgElement = document.createElement("p");
    msgElement.innerText = `${sender}: ${content} (${new Date(timestamp).toLocaleTimeString()})`;
    chatContainer.appendChild(msgElement);
}
Displaying Chat History on the UI
File: index.html
<div id="chat-container"></div>4. Testing the System
- Running the WebSocket Server
go run websocket_server.go- Open the Web Page and Try Typing a Message
- Refresh the Page and Check Message Persistence
Challenge!
Try adding a Chat History Search System to allow users to easily search for old messages.
Next EP
In EP.49, we will add a Feature to Delete Sent Messages in the WebSocket Chat! 🚀