View : 230
07/06/2026 06:44am
EP.46 Adding Custom User Status Feature in WebSocket Chat
#Chat Presence
#Chat UX
#Custom Status
#WebSocket API
#Real-Time Chat
#Golang
#Go
#WebSocket
#User Status
Why Have a Custom User Status Feature?
The Custom User Status feature allows users to specify their availability in the chat system, such as:
- Online: Available for conversation.
- Busy: In do-not-disturb mode.
- Offline: Not available for conversation.
Displaying user statuses enhances the efficiency of conversations and reduces the likelihood of sending messages to friends who may not be able to respond.
Structure of the Custom User Status System in WebSocket Chat
- WebSocket Server: Monitors and updates user statuses in real-time.
- Frontend (Client-Side): Allows users to select and update their status.
- Database (Optional): Can be used to store user statuses for long-term tracking.
Adding the Custom User Status Feature to the WebSocket Server
1. Upgrade the WebSocket Server to Support User Status Updates
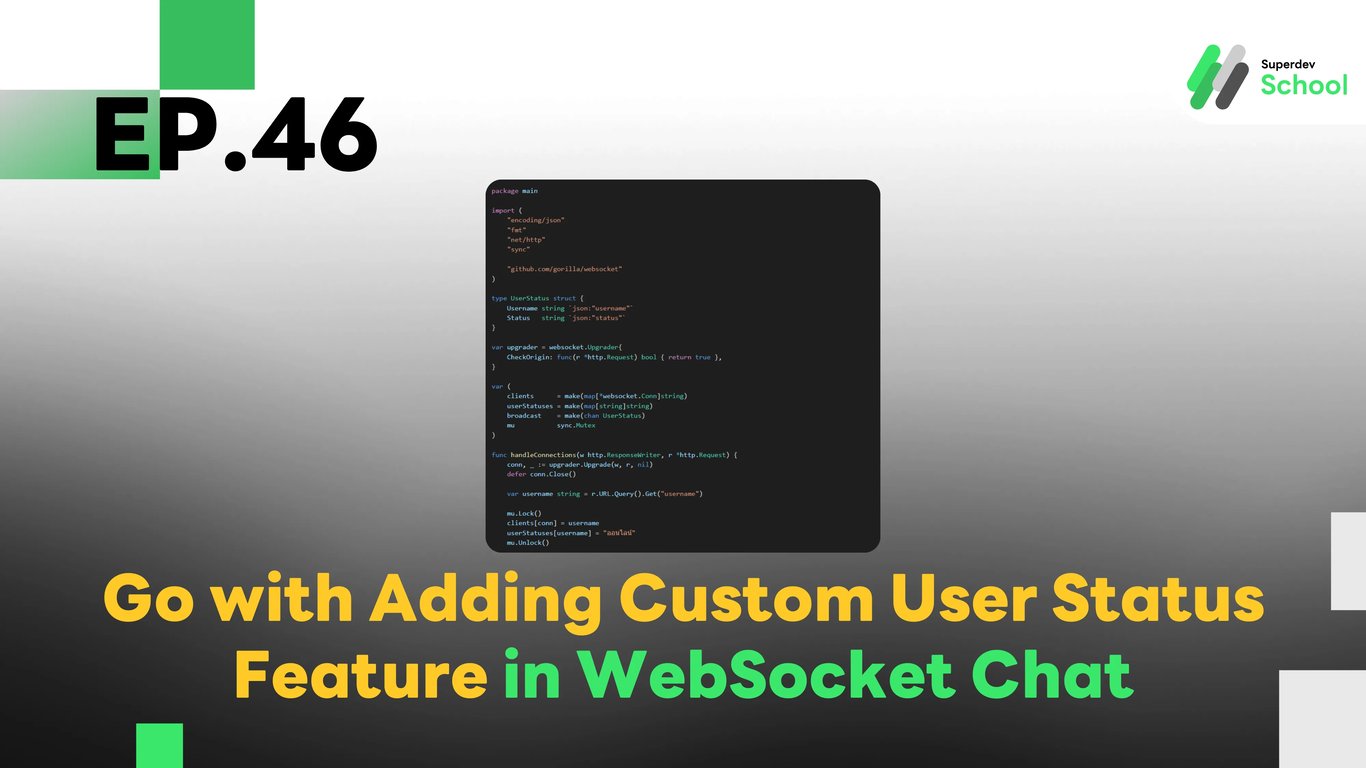
File: websocket_server.go
package main

import (
    "encoding/json"
    "fmt"
    "net/http"
    "sync"

    "github.com/gorilla/websocket"
)

type UserStatus struct {
    Username string `json:"username"`
    Status   string `json:"status"`
}

var upgrader = websocket.Upgrader{
    CheckOrigin: func(r *http.Request) bool { return true },
}

var (
    clients      = make(map[*websocket.Conn]string)
    userStatuses = make(map[string]string)
    broadcast    = make(chan UserStatus)
    mu           sync.Mutex
)

func handleConnections(w http.ResponseWriter, r *http.Request) {
    conn, _ := upgrader.Upgrade(w, r, nil)
    defer conn.Close()

    var username string = r.URL.Query().Get("username")

    mu.Lock()
    clients[conn] = username
    userStatuses[username] = "ออนไลน์"
    mu.Unlock()

    broadcast <- UserStatus{Username: username, Status: "ออนไลน์"}

    for {
        var statusUpdate UserStatus
        err := conn.ReadJSON(&statusUpdate)
        if err != nil {
            mu.Lock()
            delete(clients, conn)
            delete(userStatuses, username)
            mu.Unlock()
            broadcast <- UserStatus{Username: username, Status: "ออฟไลน์"}
            break
        }

        mu.Lock()
        userStatuses[statusUpdate.Username] = statusUpdate.Status
        mu.Unlock()
        broadcast <- statusUpdate
    }
}

func handleMessages() {
    for {
        statusUpdate := <-broadcast
        fmt.Printf("User %s updated status: %s\n", statusUpdate.Username, statusUpdate.Status)

        for client := range clients {
            err := client.WriteJSON(statusUpdate)
            if err != nil {
                client.Close()
                mu.Lock()
                delete(clients, client)
                mu.Unlock()
            }
        }
    }
}

func main() {
    http.HandleFunc("/ws", handleConnections)
    go handleMessages()
    fmt.Println("WebSocket Server Running on Port 8080")
    http.ListenAndServe(":8080", nil)
}
2. Adding Custom User Status Functionality in the Frontend (Client-Side)
File: client.js
const username = prompt("Enter your username:");
const socket = new WebSocket(`ws://localhost:8080/ws?username=${username}`);
const statusSelect = document.getElementById("status-select");
const statusDisplay = document.getElementById("status-display");

socket.onmessage = (event) => {
    const data = JSON.parse(event.data);
    updateUserStatus(data.username, data.status);
};

function updateUserStatus(username, status) {
    const statusElement = document.createElement("p");
    statusElement.innerText = `${username} is now ${status}`;
    statusDisplay.appendChild(statusElement);
}

function changeStatus() {
    const newStatus = statusSelect.value;
    socket.send(JSON.stringify({ username, status: newStatus }));
}
Displaying Custom User Status on the UI
File: index.html
<select id="status-select" onchange="changeStatus()">
    <option value="ออนไลน์">ออนไลน์</option>
    <option value="ไม่ว่าง">ไม่ว่าง</option>
    <option value="ออฟไลน์">ออฟไลน์</option>
</select>
<div id="status-display"></div>
3. Testing the System
- Running the WebSocket Server
go run websocket_server.go- Open Multiple Browser Tabs and Set Usernames
- Change Status and Observe Results at WebSocket Server and UI
Challenge!
Try adding additional statuses such as "Typing..." or "In a Meeting" to make the communication more realistic.
Next EP
In EP.47, we will add a Do Not Disturb Mode feature in the WebSocket Chat! 🚀