07/06/2026 06:43am
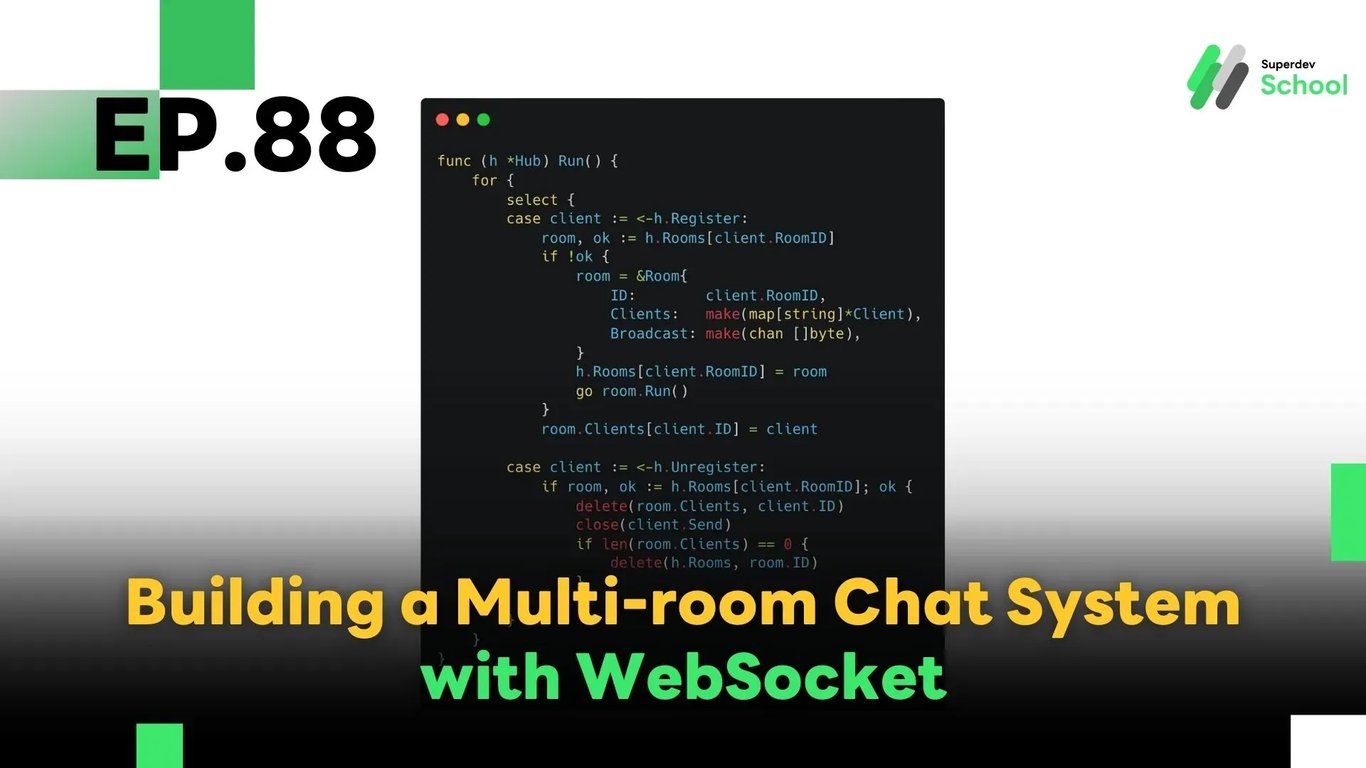
EP.88 Building a Multi-room Chat System with WebSocket
#WebSocket
#Golang
#Go
#chat system
A great WebSocket Chat system isn’t just about allowing users to connect — it should support a multi-room chat architecture, where users can join different rooms, send messages within groups, and manage room members efficiently.
In this article, we’ll walk you through how to build a scalable multi-room chat system using Golang + WebSocket, along with real-time member management and secure communication techniques.
🔧 Core Structure of a Multi-room Chat System
The architecture consists of three main components:
type Client struct {
    ID     string
    Conn   *websocket.Conn
    RoomID string
    Send   chan []byte
}

type Room struct {
    ID        string
    Clients   map[string]*Client
    Broadcast chan []byte
}

type Hub struct {
    Rooms      map[string]*Room
    Register   chan *Client
    Unregister chan *Client
}
- Client: Represents each connected user with its connection and associated room
- Room: Holds users within the same chat room and provides a broadcast channel
- Hub: A central manager that handles room creation, user registration, and room clean-up
🧩 Registering and Unregistering Clients
func (h *Hub) Run() {
    for {
        select {
        case client := <-h.Register:
            room, ok := h.Rooms[client.RoomID]
            if !ok {
                room = &Room{
                    ID:        client.RoomID,
                    Clients:   make(map[string]*Client),
                    Broadcast: make(chan []byte),
                }
                h.Rooms[client.RoomID] = room
                go room.Run()
            }
            room.Clients[client.ID] = client

        case client := <-h.Unregister:
            if room, ok := h.Rooms[client.RoomID]; ok {
                delete(room.Clients, client.ID)
                close(client.Send)
                if len(room.Clients) == 0 {
                    delete(h.Rooms, room.ID)
                }
            }
        }
    }
}
Register: Adds a client to a room, automatically creates the room if it doesn’t existUnregister: Removes a client from the room, and deletes the room if empty
📢 Broadcasting Messages Within Rooms
func (r *Room) Run() {
    for {
        select {
        case message := <-r.Broadcast:
            for _, client := range r.Clients {
                select {
                case client.Send <- message:
                default:
                    close(client.Send)
                    delete(r.Clients, client.ID)
                }
            }
        }
    }
}
Messages sent to the Broadcast channel are immediately forwarded to all clients in the room. If a client becomes unresponsive, its channel is closed to prevent blocking the room.
🔄 Sending and Receiving Messages (Client Side)
func (c *Client) ReadPump(h *Hub) {
    defer func() {
        h.Unregister <- c
        c.Conn.Close()
    }()
    for {
        _, msg, err := c.Conn.ReadMessage()
        if err != nil {
            break
        }
        if room, ok := h.Rooms[c.RoomID]; ok {
            room.Broadcast <- msg
        }
    }
}

func (c *Client) WritePump() {
    for msg := range c.Send {
        c.Conn.WriteMessage(websocket.TextMessage, msg)
    }
}
ReadPump: Reads messages from the client and sends them to the appropriate roomWritePump: Sends messages from the room to the client in real time
👥 Managing Room Members
Want to display a list of users in a room? Here’s a simple function:
func (r *Room) ListMembers() []string {
    members := []string{}
    for id := range r.Clients {
        members = append(members, id)
    }
    return members
}
You can also expose endpoints like /join-room, /leave-room, or /members to control and manage rooms from the frontend.
🧠 Production Considerations
Here are tips to make your chat system production-ready:
✅ Use Redis Pub/Sub to share messages across server instances
✅ Enforce connection limits per room to prevent abuse
✅ Enable Gzip compression to reduce WebSocket message sizes
🚀 Challenge: Build It Yourself!
Try building your own multi-room chat server and expand with features like:
- Private Rooms
- Room Admin Roles
- Join/Leave Notifications
🔜 Next Episode
EP.89: Load Testing Your WebSocket Server Like a Pro
In the next article, we’ll explore how to benchmark your WebSocket system and ensure it can handle thousands of concurrent connections under real-world load.
Read more
🔵 Facebook: Superdev Academy
🔴 YouTube: Superdev Academy
📸 Instagram: Superdev Academy
🎬 TikTok: https://www.tiktok.com/@superdevacademy?lang=th-TH
🌐 Website: https://www.superdevacademy.com/en