07/06/2026 06:44am
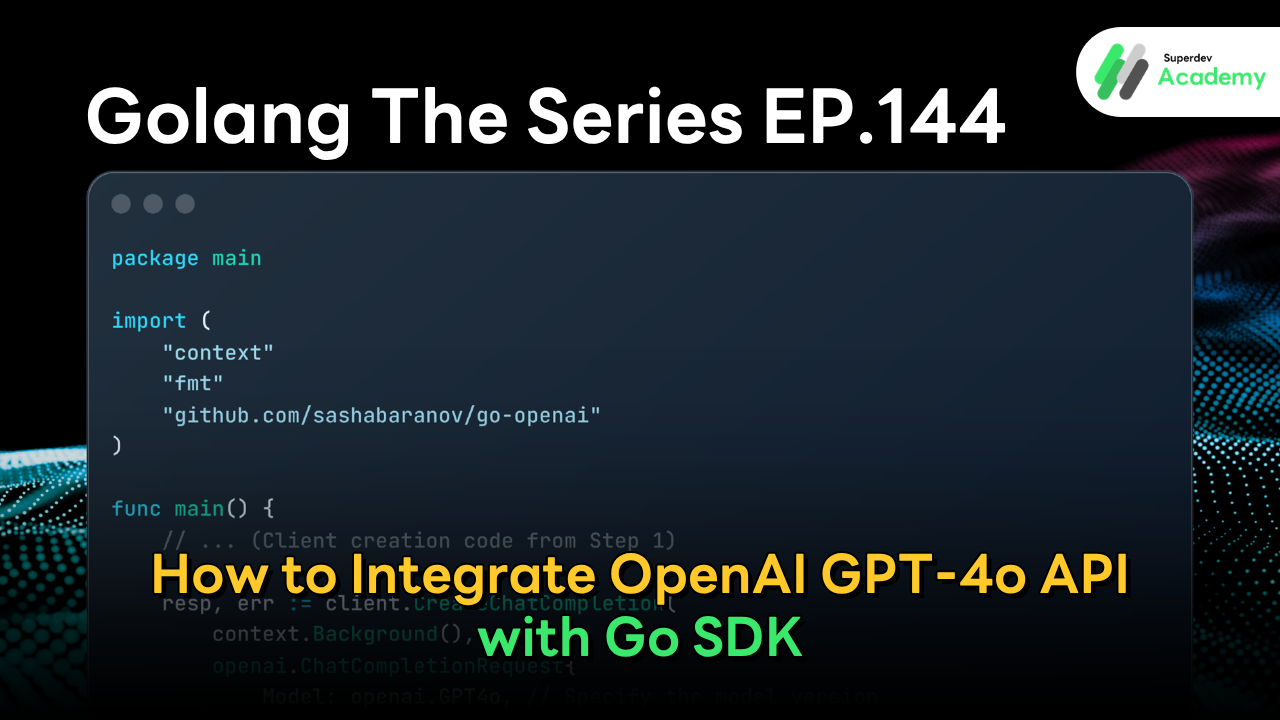
Golang The Series EP.144: How to Integrate OpenAI GPT-4o API with Go SDK
#Golang
#Go
#OpenAI API
#GPT-4o
#Go SDK
#Streaming Mode
#AI development
In EP.144, we are going to start connecting our Go backend to OpenAI's GPT-4o. Following our previous discussion on communication channels (REST vs. gRPC), today we will dive into the actual implementation. We’ll be using the standard SDK to ensure that data transmission between our system and OpenAI is stable, efficient, and follows secure software development practices.
SDK Setup and Secure API Key Management
The most important rule to remember is: "Never hardcode your API Key directly into your source code." If you accidentally push your code to GitHub, bots scanning for keys will find it and exhaust your quota within minutes.
Installing the SDK
We will use the most popular library in the Go community, go-openai by sashabaranov. Run this command in your terminal:
Bash
go get github.com/sashabaranov/go-openai
Managing Keys Systematically
A secure and universal method is to use Environment Variables or store them in a .env file. (Always ensure that your .env file is added to your .gitignore so it isn't uploaded to your server or public repository.)
Implementation Example:
Go
import (
    "os"
    "github.com/sashabaranov/go-openai"
)

func main() {
    // Retrieve the Key from your operating system or configured Environment Variables
    apiKey := os.Getenv("OPENAI_API_KEY")

    if apiKey == "" {
        // Handle cases where the Key is missing to prevent program failure
        panic("Please set the OPENAI_API_KEY environment variable")
    }

    client := openai.NewClient(apiKey)
}
Chat Completion: Sending Prompts and Receiving Responses
The core of interacting with GPT-4o is sending data via ChatCompletionRequest. It is crucial to clearly define the Role and Content so the model understands the context of your inquiry.
Code Example:
Go
package main

import (
    "context"
    "fmt"
    "github.com/sashabaranov/go-openai"
)

func main() {
    // ... (Client creation code from Step 1)

    resp, err := client.CreateChatCompletion(
        context.Background(),
        openai.ChatCompletionRequest{
            Model: openai.GPT4o, // Specify the model version
            Messages: []openai.ChatCompletionMessage{
                {
                    Role:    openai.ChatMessageRoleUser, // Define as a message from the User
                    Content: "Explain the advantages of Go in one sentence.",
                },
            },
        },
    )

    if err != nil {
        fmt.Printf("Error: %v\n", err)
        return
    }

    // The response is stored in 'Choices'. Usually, we retrieve the first index.
    fmt.Println(resp.Choices[0].Message.Content)
}
Key Concepts to Remember:
Role: There are typically three main roles:
System(defines AI personality),User(the user's input), andAssistant(previous AI responses used to maintain conversation history).Choices: The system returns an array because, in some configurations, the AI might generate multiple alternative responses. For basic use cases, we primarily use
Choices[0].
Streaming Mode: Receiving Real-time Responses
If you want your application to display answers word-by-word, similar to the ChatGPT web interface, you need to use Streaming Mode. This technique improves the user experience by reducing the perceived "hang" time while the model processes long responses.
In Go, we handle this by looping through the data received from the stream until the process is complete.
Code Example:
Go
// Create a stream instead of using the standard CreateChatCompletion
stream, err := client.CreateChatCompletionStream(context.Background(), request)
if err != nil {
    fmt.Printf("Failed to open stream: %v\n", err)
    return
}
defer stream.Close() // Close the stream when finished to free up system resources

for {
    // Loop to receive data in parts (Chunks)
    response, err := stream.Recv()

    // Check if all data has been sent (io.EOF indicates the end of the stream)
    if errors.Is(err, io.EOF) {
        fmt.Println("\n[End of data]")
        break
    }

    if err != nil {
        fmt.Printf("\nError while receiving data: %v\n", err)
        break
    }

    // In Stream mode, response data is located in the Delta field
    fmt.Print(response.Choices[0].Delta.Content)
}
Key Differences:
CreateChatCompletionStream: Sends data back in small chunks continuously rather than waiting for the entire response to be generated.
Delta.Content: In standard mode, data is found in
Message.Content. However, in Streaming mode, the data is delivered throughDelta.Contentinstead.
Error Handling: Dealing with API Issues
In real-world applications, we cannot control external factors like OpenAI’s system stability or internet connectivity. Therefore, writing robust Go code requires comprehensive Error Handling, especially regarding API quotas and limitations.
Common Issues:
Rate Limit (429): Occurs when requests are sent too frequently, exceeding the set threshold. The solution is to wait and retry (Exponential Backoff).
Insufficient Quota: An alert indicating that your account balance is low or you have exceeded your token limit.
Specific Error Handling Example:
Go
if err != nil {
    // Check if the error is specifically from the OpenAI API
    var apiErr *openai.APIError
    if errors.As(err, &apiErr) {
        switch apiErr.HTTPStatusCode {
        case 429:
            // Case: Rate Limit exceeded
            fmt.Println("Rate limit exceeded. Please wait a moment and try again.")
        case 401:
            // Case: Invalid or expired API Key
            fmt.Println("API Key issue. Please check your settings.")
        case 402:
            // Case: Account out of credits (Insufficient Quota)
            fmt.Println("Insufficient quota. Please top up your OpenAI account.")
        default:
            fmt.Printf("API Error: %s (Status: %d)\n", apiErr.Message, apiErr.HTTPStatusCode)
        }
    } else {
        // Case: General errors, such as network issues
        fmt.Printf("General Error: %v\n", err)
    }
    return
}
Management Principle Summary:
Distinguishing between HTTP Status Codes allows us to decide the next programmatic step. For example, if we receive a 429, we can implement logic to pause and automatically retry. However, for a 401 or 402, the program should halt and notify an administrator to resolve account or configuration issues.
🎯 Daily Mission
To gain a clearer understanding of how Streaming and Client management work, I encourage everyone to build a simple CLI (Command Line Interface) program.
The Challenge: Write a Go program that accepts user input from the keyboard (using fmt.Scanln or bufio.NewScanner) and sends it to GPT-4o. Ensure the output is displayed using Streaming Mode so the response appears on your screen in real-time.
🔥 Level Up! (Homework)
Managing costs is a vital skill when building AI systems. Extra Challenge: Research how to set the MaxTokens value within the ChatCompletionRequest. By limiting the maximum length of the AI's response, you can effectively control your budget and prevent unnecessary token consumption for every request.
Conclusion: Your First Step into AI-Powered Applications
Connecting to GPT-4o via the Go SDK is straightforward. However, what distinguishes a professional developer from a beginner is a focus on Security and User Experience. Keeping your API keys secure and implementing Streaming Mode will make your applications more reliable and professional.
Don't forget to try the homework on token limits! In a production environment, Cost Optimization is just as important as writing clean code.
Coming Up Next | EP.145: Local LLM with Ollama — Running Models Locally with Go
If you are concerned about escalating API costs or have strict data privacy requirements that prevent you from sending data to the cloud, the next episode is for you! We’ll introduce Ollama, a tool that transforms your computer into a private AI server.
What we’ll cover in EP.145:
Ollama Setup: How to install and run models like Llama 3 or Mistral locally.
Go with Ollama: Using Go libraries to interact with your local LLM.
Privacy & Cost: Comparing the pros and cons of Local deployment vs. Cloud APIs.
If you’re a fan of free or privacy-first solutions, you won't want to miss the next one!
Follow Superdev Academy on all platforms:
🔵 Facebook: Superdev Academy Thailand
🎬 YouTube: Superdev Academy Channel
📸 Instagram: @superdevacademy
🎬 TikTok: @superdevacademy
🌐 Website: superdevacademy.com