07/06/2026 06:44am
EP.60 Adding Group Chat Feature in WebSocket
#WebSocket group chat
#Group chat WebSocket
#WebSocket chat rooms
#Real-time group messaging
#Multi-user chat WebSocket
#Go
The Group Chat feature in WebSocket allows users to join and send messages in group chats in real-time. This feature enables seamless communication within a group chat environment where multiple users can participate and communicate effectively. By using WebSocket, messages are delivered to all members of the group instantly, providing a smooth experience for users in group conversations.
Why is the Group Chat Feature Important?
The Group Chat feature is vital in any real-time messaging application that allows multiple users to communicate in a shared space. Here are the benefits:
- Real-time Communication: Allows users to send and receive messages instantly in a group.
- Manage Group Membership: Users can join or leave group chats as needed.
- Organized Group Communication: Helps to keep all group messages organized and enables users to communicate more effectively in a group setting.
Benefits of Group Chat:
- Instant messaging: Enables real-time communication in group settings.
- Manage group members: Users can easily join or leave groups.
- Efficient information sharing: Ensures important messages are shared and visible to all members.
Structure of the Group Chat System
The Group Chat system in WebSocket enables real-time communication among users in a group. It uses WebSocket to handle message delivery and manage group membership in an efficient way.
Key Components of the Group Chat System:
- Room Creation: Users can create a group chat room and invite other participants to join.
- Sending Messages in Groups: Messages sent by one user in the group will be broadcast to all other members in real-time.
- Managing Group Membership: Users can join and leave groups, and their status will be updated in the system.
- Displaying Group Messages: Messages in the group will be displayed to all participants, ensuring everyone sees the conversation.
How to Implement the Group Chat Feature in WebSocket
To add group chat functionality to your WebSocket server, follow these steps:
Steps to Implement:
- Creating a Group Chat Room:
Allow users to create and join group chat rooms by assigning a name to the room and adding members. - Joining and Leaving Group Chats:
Users can join and leave the group chat rooms as needed. When joining, their connection will be added to the room, and when they leave, their connection will be removed. - Sending Messages in the Group:
Once users are in a group, they can send messages to the entire group. WebSocket ensures that all group members will receive the message instantly.
Building the UI for Group Chat
Creating a user-friendly interface will help users interact with the group chat system efficiently. The UI will display the group members and the messages in the group chat.
UI Components:
- Display the list of group members: The UI will show the names of members in the group chat.
- Display group messages: All messages sent in the group chat will be displayed to all users.
- Join and leave buttons: Users can join or leave the group from the UI with easy-to-use buttons.
Testing the Group Chat Feature
Once the group chat feature is implemented, testing is important to ensure everything is working as expected.
Tests to Perform:
- Test creating group chat rooms: Check if users can create group chat rooms and invite others to join.
- Test sending messages in the group: Verify that messages sent by a user are delivered to all members of the group.
- Test joining and leaving groups: Ensure that users can join and leave the groups and that the system correctly updates their membership status.
Code Example for Group Chat in WebSocket
WebSocket Server Code (Backend)
Using WebSocket to handle group messages and manage room creation.
package main

import (
    "github.com/gorilla/websocket"
    "fmt"
    "net/http"
    "sync"
)

var (
    clients   = make(map[*websocket.Conn]string)  // map of WebSocket connection to room
    broadcast = make(chan string)
    mu        sync.Mutex
)

func handleGroupChat(w http.ResponseWriter, r *http.Request) {
    conn, _ := upgrader.Upgrade(w, r, nil)
    defer conn.Close()

    room := r.URL.Query().Get("room")  // Get the room parameter from URL
    clients[conn] = room

    for {
        var message string
        err := conn.ReadMessage(&message)
        if err != nil {
            delete(clients, conn)
            break
        }

        // Send message to all clients in the same room
        mu.Lock()
        for client, cRoom := range clients {
            if cRoom == room {
                client.WriteMessage(message)
            }
        }
        mu.Unlock()
    }
}

func main() {
    http.HandleFunc("/ws", handleGroupChat)
    fmt.Println("WebSocket Server Running on Port 8080")
    http.ListenAndServe(":8080", nil)
}
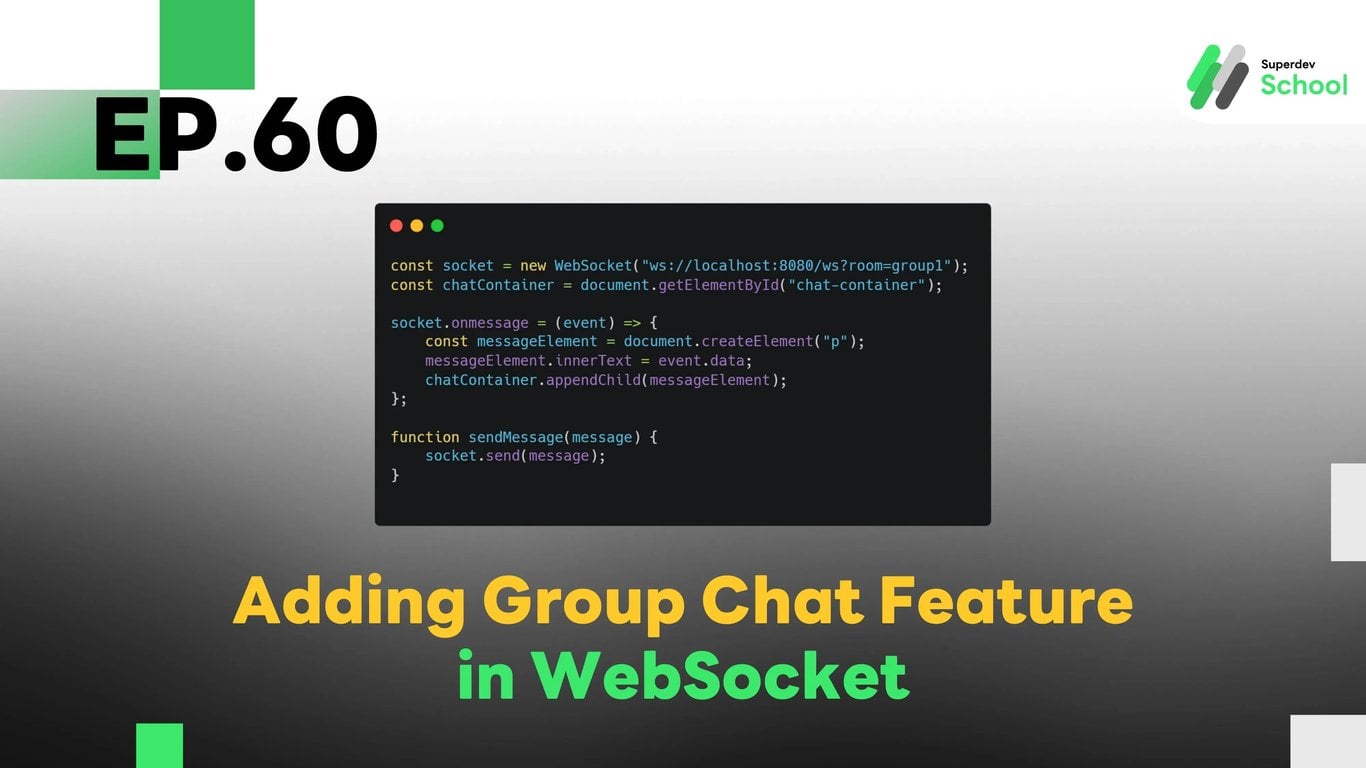
Frontend Code (Client)
Adding the WebSocket connection and displaying group chat messages.
const socket = new WebSocket("ws://localhost:8080/ws?room=group1");
const chatContainer = document.getElementById("chat-container");

socket.onmessage = (event) => {
    const messageElement = document.createElement("p");
    messageElement.innerText = event.data;
    chatContainer.appendChild(messageElement);
};

function sendMessage(message) {
    socket.send(message);
}
Challenge for Next EP!
Try implementing the display of group member status to show who is active in the group chat and enhance group interaction!
Next EP:
In the next episode, we will dive into Creating a Chat Room Management System in WebSocket to allow users to create and manage their own chat rooms!