07/06/2026 06:44am
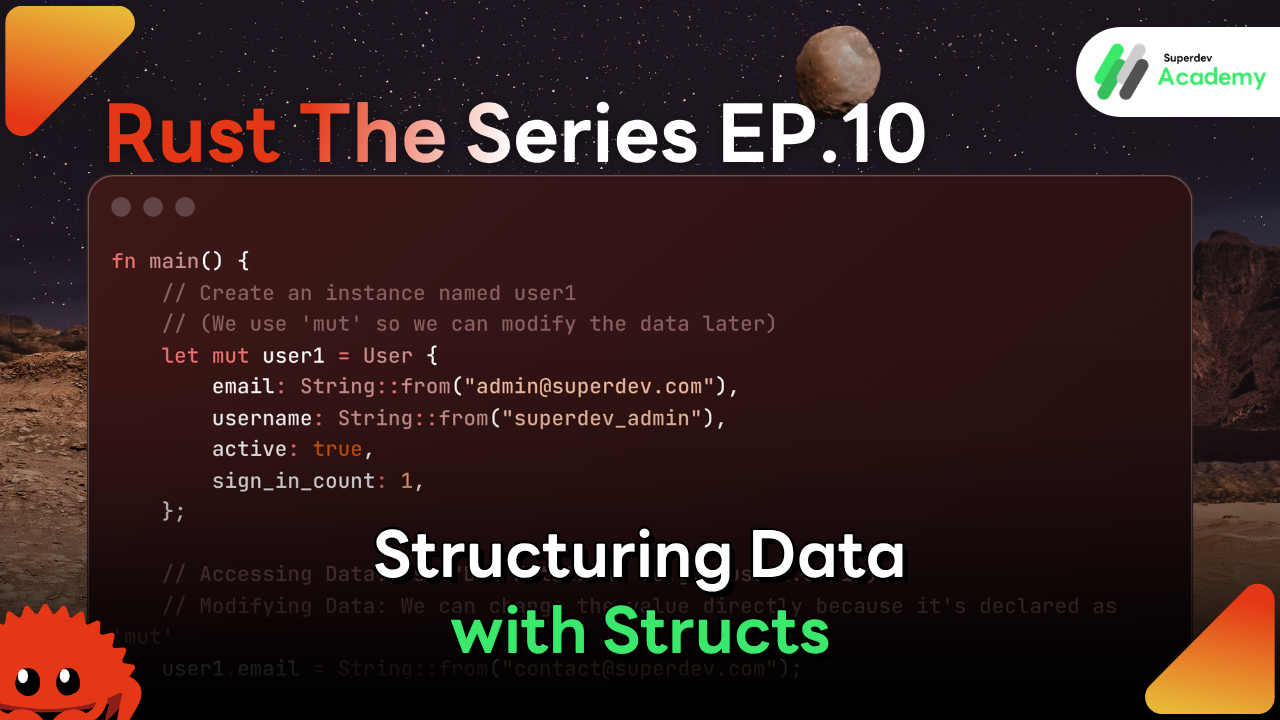
Structuring Data with Structs | Rust The Series EP.10
#Rust
#Rust Struct
#Rust Method
#Rust tutorial
#Backend Development
#Learn Rust Programming
Welcome to the final episode of Rust The Series (Basic Edition)! After battling through the ironclad memory management rules and Rust’s famous Borrowing system, you might be asking yourself:
"How can I create a single variable that holds multiple related pieces of information? For example, a member profile that contains a Name (String), Age (i32), and Membership Status (bool) how do I bundle them all together?"
In other languages, your mind might jump to Classes or Objects. In Rust, we use a powerful tool called a Struct (Structure). It is the primary way to create custom Data Types tailored to your specific needs!
1. What is a Struct?
To put it simply, a Struct allows you to bundle multiple types of data into a single unit. Each piece of data inside the bundle is called a Field.
The true power of a Struct lies in its ability to name each part of the data. Unlike a Tuple, where you have to remember the order of elements (indices), a Struct makes your code much more readable. It serves as a Blueprint that defines exactly what an object should consist of.
Rust
// Defining a Struct (Creating the Blueprint)
struct User {
    username: String,    // User's name
    email: String,       // User's email
    sign_in_count: u64,  // Number of times logged in
    active: bool,        // Account status (Active/Inactive)
}
2. Creating an Instance (Putting the Blueprint into Action)
Once we have our blueprint (Struct), the next step is to create actual data, which we call an Instance.
Think of creating an instance like filling out a form you’ve designed. One thing to keep in mind: Rust is very strict about data. It requires you to provide values for every single field you declared in the blueprint.
Rust
fn main() {
    // Create an instance named user1
    // (We use 'mut' so we can modify the data later)
    let mut user1 = User {
        email: String::from("admin@superdev.com"),
        username: String::from("superdev_admin"),
        active: true,
        sign_in_count: 1,
    };

    // Accessing Data: Use "Dot Notation" (e.g., user1.email)
    // Modifying Data: We can change the value directly because it's declared as 'mut'
    user1.email = String::from("contact@superdev.com");

    println!("User: {} (Email: {})", user1.username, user1.email);
}
Important Safety Notes:
Immutable by Default: In true Rust fashion, if you simply declare
let user1 = ..., you won't be able to change any field after the instance is created.All or Nothing: In Rust, we cannot make individual fields mutable. If you want to edit a field, the entire instance must be declared as
mut.
3. Methods: Giving Your Struct Superpowers
Storing data is great, but what makes Structs truly powerful is the ability to add Methods—functions specifically tied to that Struct. This gives your objects their own built-in "behaviors."
We use the keyword impl (short for Implementation) to declare: "Here are the capabilities of this Struct!"
Rust
struct Rectangle {
    width: u32,
    height: u32,
}

impl Rectangle {
    // A Method for calculating area
    // We use '&self' to say, "I need to borrow the data from myself"
    fn area(&self) -> u32 {
        self.width * self.height
    }
}

fn main() {
    let rect = Rectangle { width: 30, height: 50 };

    // Call the method using Dot Notation (.)
    println!("The rectangle area is: {} square units", rect.area());
}
Why do we need &self?
Did you notice the &self parameter? This is a direct application of the Borrowing rules we learned in EP.8:
It means the method is borrowing for reading the data from itself (the specific instance) to perform a calculation.
If you wanted the method to modify the data within itself, you would simply change it to
&mut self.This is the beauty of Rust: even in an Object-Oriented style, the Ownership rules follow you to ensure your code is always safe!
4. Summary: The Rust The Series Journey
Congratulations! Over the past 10 episodes, we have built the essential foundation needed to step fully into the world of Rust. Here is a recap of our journey to success:
EP.1-3 (The Beginning): Arming ourselves by installing the right tools and meeting Cargo, our intelligent companion that stays with us throughout the development journey.
EP.4-6 (The Core): Mastering the non-negotiable fundamentals, including variables, Data Types, and Control Flow.
EP.7-9 (The Soul): Diving deep into the heart of what makes Rust unique: Ownership, Borrowing, and Slices.
EP.10 (The Architecture): Bringing everything together to design custom data structures with Structs.
Although the "Basic Edition" of this series ends here, your journey in the world of Rust has only just begun! Exciting treasures like Enums, Pattern Matching, Traits, and Error Handling are waiting for you to conquer in the next phase.
"Learning how to communicate effectively with the Rust Compiler today is your first step toward becoming a developer who writes some of the safest and most efficient software in the world."
A Final Note from the Team
A huge thank you to everyone who followed Rust The Series through to the end of this foundational phase!
We sincerely hope this series has helped tear down the wall of belief that "Rust is too hard" and replaced it with the joy and confidence of learning. For us, Rust’s safety and speed aren't just features they are the Art of Exceptional Programming.
Stay tuned for our next project! Whether we dive into new frameworks or push the boundaries of Advanced Rust, you won't want to miss what's coming next.
🎯 Follow Superdev Academy for top-tier Dev knowledge: Don't miss our deep-dive technical articles and the latest technology updates. Connect with us on all channels:
🔵 Facebook: Superdev Academy Thailand
🎬 YouTube: Superdev Academy Channel
📸 Instagram: @superdevacademy
🎬 TikTok: @superdevacademy
🌐 Website: superdevacademy.com