07/06/2026 06:43am
Ep.25 Go and Load Balancing - Distributing Connections Like a Pro!
#Go
#Golang
#Go language
#Load Balancing
#WebSocket
#Optimization
#Support for Many Users
#NGINX
#Kubernetes
#Go Programming
#Programming Education
#Practice programming
#programming for beginners
#programming
#programming language
#programmers
#Superdev School
Go and Load Balancing - Distributing Connections Like a Pro!
Load Balancing on WebSocket Supports a Large Number of Users in Go
In this episode, we will explore how to optimize a WebSocket Server to support a large number of users using Load Balancing and Scaling, which are essential techniques to ensure your system can expand and operate efficiently.
What is Load Balancing?
Load Balancing is the process of distributing requests from users to multiple servers so that each server does not become overloaded, thereby reducing response time.
Benefits of Load Balancing :
1. Increased Stability: If one server fails, the system continues to operate.
2. Supports Many Users: Distributes connections to multiple servers.
3. Easy Scaling: Increase or decrease the number of servers as needed.
Using a Load Balancer for WebSocket
For WebSocket, which is a persistent connection (long-term connection), we can use a Load Balancer to distribute connections to multiple servers. Popular tools that support WebSocket include :
- NGINX
- HAProxy
- AWS Elastic Load Balancer
Example Configuration of Load Balancing with NGINX
1. Install NGINX
Install NGINX on the machine you want to use as a Load Balancer.
sudo apt update
sudo apt install nginx
2. Configure NGINX to Support WebSocket Create a configuration file in /etc/nginx/sites-available/websocket.
upstream websocket_backend {
    server 127.0.0.1:8080; # เซิร์ฟเวอร์ WebSocket เครื่องที่ 1
    server 127.0.0.1:8081; # เซิร์ฟเวอร์ WebSocket เครื่องที่ 2
}

server {
    listen 80;

    location / {
        proxy_pass http://websocket_backend;
        proxy_http_version 1.1;
        proxy_set_header Upgrade $http_upgrade;
        proxy_set_header Connection "upgrade";
        proxy_set_header Host $host;
    }
}
3. Activate the Configuration File Create a symbolic link and restart NGINX.
sudo ln -s /etc/nginx/sites-available/websocket /etc/nginx/sites-enabled/
sudo systemctl restart nginx
4. Test the Connection Users can connect to ws://<your-nginx-server> and NGINX will distribute the connection to multiple WebSocket servers.
Scaling WebSocket Server with Docker and Kubernetes
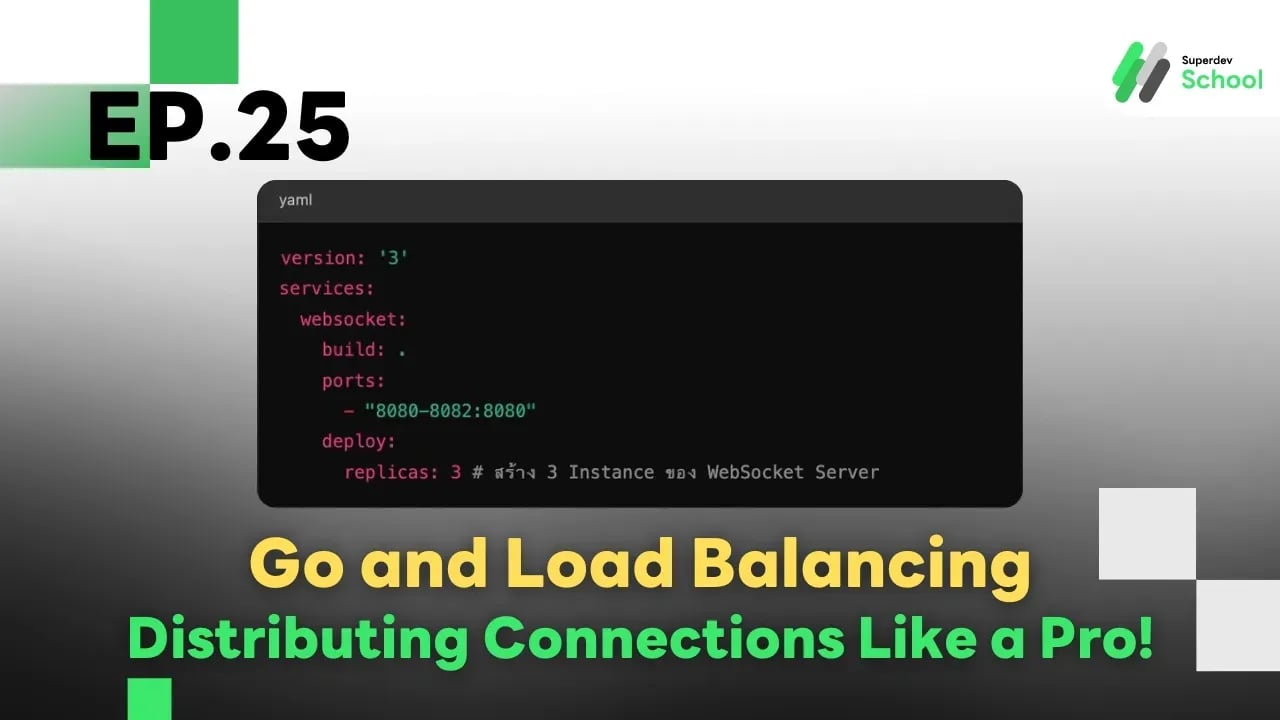
1. Using Docker Compose for Scaling If you use Docker, you can easily increase the number of WebSocket Servers.
version: '3'
services:
  websocket:
    build: .
    ports:
      - "8080-8082:8080"
    deploy:
      replicas: 3 # สร้าง 3 Instance ของ WebSocket Server
Run the command.
docker-compose up --scale websocket=3
2. Using Kubernetes for Load Balancing Kubernetes has a built-in Load Balancer that helps distribute connections. Here’s an example deployment file.
apiVersion: apps/v1
kind: Deployment
metadata:
  name: websocket
spec:
  replicas: 3
  selector:
    matchLabels:
      app: websocket
  template:
    metadata:
      labels:
        app: websocket
    spec:
      containers:
      - name: websocket
        image: your-websocket-image
        ports:
        - containerPort: 8080
---
apiVersion: v1
kind: Service
metadata:
  name: websocket-service
spec:
  selector:
    app: websocket
  ports:
  - protocol: TCP
    port: 80
    targetPort: 8080
  type: LoadBalancer
Run the command.
kubectl apply -f websocket-deployment.yaml
Additional Techniques for Optimization
- Use Sticky Sessions : Bind each connection to the same server to maintain user state.
- Cache Data in Memory : Use Redis or Memcached for temporary data storage.
- Monitor the System : Use Prometheus and Grafana to track server performance.
In Summary
- Load Balancing helps distribute WebSocket connections across multiple servers.
- Use NGINX or Kubernetes to support a large number of users.
- Increase stability with Sticky Sessions and real-time system monitoring.