07/06/2026 06:44am
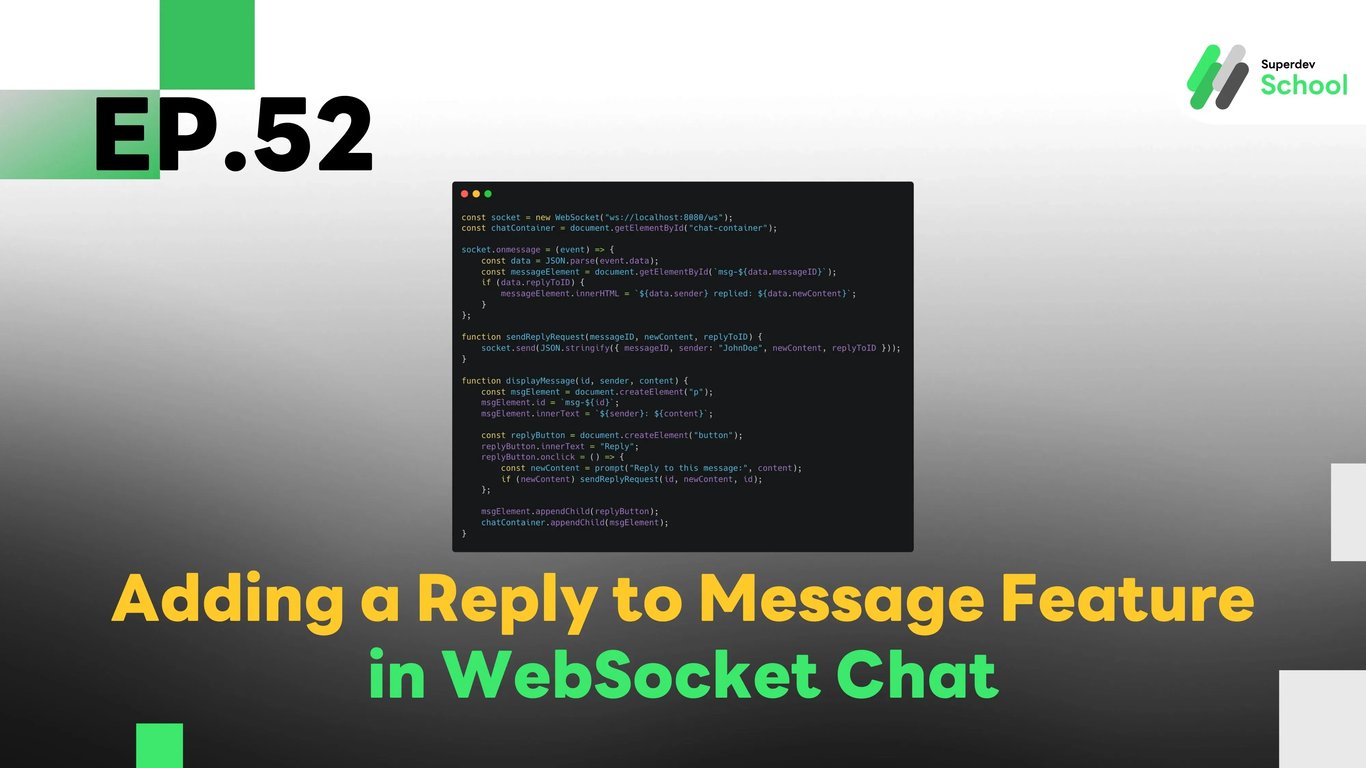
EP.52 Adding a Reply to Message Feature in WebSocket Chat
#Frontend
#Backend
#Go
#programming
#WebSocket Feature
#Chat App Development
#Reply to Message
#WebSocket Chat
#WebSocket
In this article, we’ll guide you through adding a "Reply to Message" feature in WebSocket Chat. This feature will enable users to reply to messages they’ve already sent. By doing so, it allows for better message threading and improves the overall organization of the chat.
Steps to add message reply feature in WebSocket Chat:
Why the reply feature is necessary in WebSocket Chat?
- Allows users to reply to specific messages, creating organized conversations.
- Provides context for replies, making the chat more structured.
The structure of a reply system in WebSocket Chat
- Connecting the replied message with the original message.
- Handling the data properly in both the backend and frontend.
How to add the "Reply to Message" feature in WebSocket Server
- We’ll update the server to handle the replying functionality.
- Sending and broadcasting the reply to all connected clients.
How to update the Frontend UI with reply buttons and display replies
- Adding a "Reply" button in the frontend for users to click and respond.
- Showing the replies in a user-friendly format.
Testing the feature
- Testing the feature by sending a message and replying to it in real-time.
Code Example for Adding Reply to Message in WebSocket Chat
Database Update (Database)
First, we need to update the database to support message replies by adding a column reply_to_message_id to link the reply to the original message.
ALTER TABLE chat_messages ADD COLUMN reply_to_message_id INT REFERENCES chat_messages(id);
WebSocket Server Code (Backend)
Next, we update the WebSocket Server to handle replies by allowing users to reply to specific messages and notifying all connected clients.
package main

import (
    "database/sql"
    "encoding/json"
    "fmt"
    "net/http"
    "sync"

    "github.com/gorilla/websocket"
    _ "github.com/lib/pq"
)

type ReplyRequest struct {
    MessageID   int    `json:"messageID"`
    Sender      string `json:"sender"`
    NewContent  string `json:"newContent"`
    ReplyToID   int    `json:"replyToID"`
}

type ReplyResponse struct {
    MessageID   int    `json:"messageID"`
    NewContent  string `json:"newContent"`
    Sender      string `json:"sender"`
    ReplyToID   int    `json:"replyToID"`
}

var (
    clients   = make(map[*websocket.Conn]bool)
    broadcast = make(chan ReplyResponse)
    mu        sync.Mutex
    db        *sql.DB
)

func handleReplyMessage(w http.ResponseWriter, r *http.Request) {
    conn, _ := upgrader.Upgrade(w, r, nil)
    defer conn.Close()
    clients[conn] = true

    for {
        var request ReplyRequest
        err := conn.ReadJSON(&request)
        if err != nil {
            delete(clients, conn)
            break
        }

        // Insert the replied message into the database
        _, err = db.Exec("INSERT INTO chat_messages (content, sender, reply_to_message_id) VALUES ($1, $2, $3)", request.NewContent, request.Sender, request.ReplyToID)
        if err == nil {
            broadcast <- ReplyResponse{MessageID: request.MessageID, NewContent: request.NewContent, Sender: request.Sender, ReplyToID: request.ReplyToID}
        }
    }
}

func notifyClients() {
    for {
        msg := <-broadcast
        for client := range clients {
            err := client.WriteJSON(msg)
            if err != nil {
                client.Close()
                delete(clients, client)
            }
        }
    }
}

func main() {
    http.HandleFunc("/ws", handleReplyMessage)
    go notifyClients()
    fmt.Println("WebSocket Server Running on Port 8080")
    http.ListenAndServe(":8080", nil)
}
Frontend Code (Client)
Now, we’ll add a "Reply" button in the frontend so users can reply to specific messages.
const socket = new WebSocket("ws://localhost:8080/ws");
const chatContainer = document.getElementById("chat-container");

socket.onmessage = (event) => {
    const data = JSON.parse(event.data);
    const messageElement = document.getElementById(`msg-${data.messageID}`);
    if (data.replyToID) {
        messageElement.innerHTML = `${data.sender} replied: ${data.newContent}`;
    }
};

function sendReplyRequest(messageID, newContent, replyToID) {
    socket.send(JSON.stringify({ messageID, sender: "JohnDoe", newContent, replyToID }));
}

function displayMessage(id, sender, content) {
    const msgElement = document.createElement("p");
    msgElement.id = `msg-${id}`;
    msgElement.innerText = `${sender}: ${content}`;

    const replyButton = document.createElement("button");
    replyButton.innerText = "Reply";
    replyButton.onclick = () => {
        const newContent = prompt("Reply to this message:", content);
        if (newContent) sendReplyRequest(id, newContent, id);
    };

    msgElement.appendChild(replyButton);
    chatContainer.appendChild(msgElement);
}
Challenge:
Try adding a message follow-up feature that will allow users to track replies to messages they've responded to!
Next EP:
In the next episode, we’ll explore adding a feature to follow up on replies, so users can easily track and follow conversations they’re part of!