07/06/2026 06:44am
Mastering Control Flow with if-else and Loops | Rust The Series EP.6
#Rust Programming
#Rust tutorial
#Rust
#learn Rust
#Rust Control Flow
#Rust for beginners
Welcome back to Rust The Series! After learning about variables and data types, in this EP.6, we will look at how to tell the program to "think" and "decide" what to do next in different situations using what we call Control Flow. In Rust, controlling the program's flow is divided into two main groups: Conditions (if-else) and Repetitions (Loops). Let's look at them one by one.
1. Making Decisions with if and else
Using if-else in Rust looks similar to other programming languages, but with a distinct feature: you don't need parentheses () around the condition, but curly braces {} are strictly required, even if there is only a single line of code.
Rust
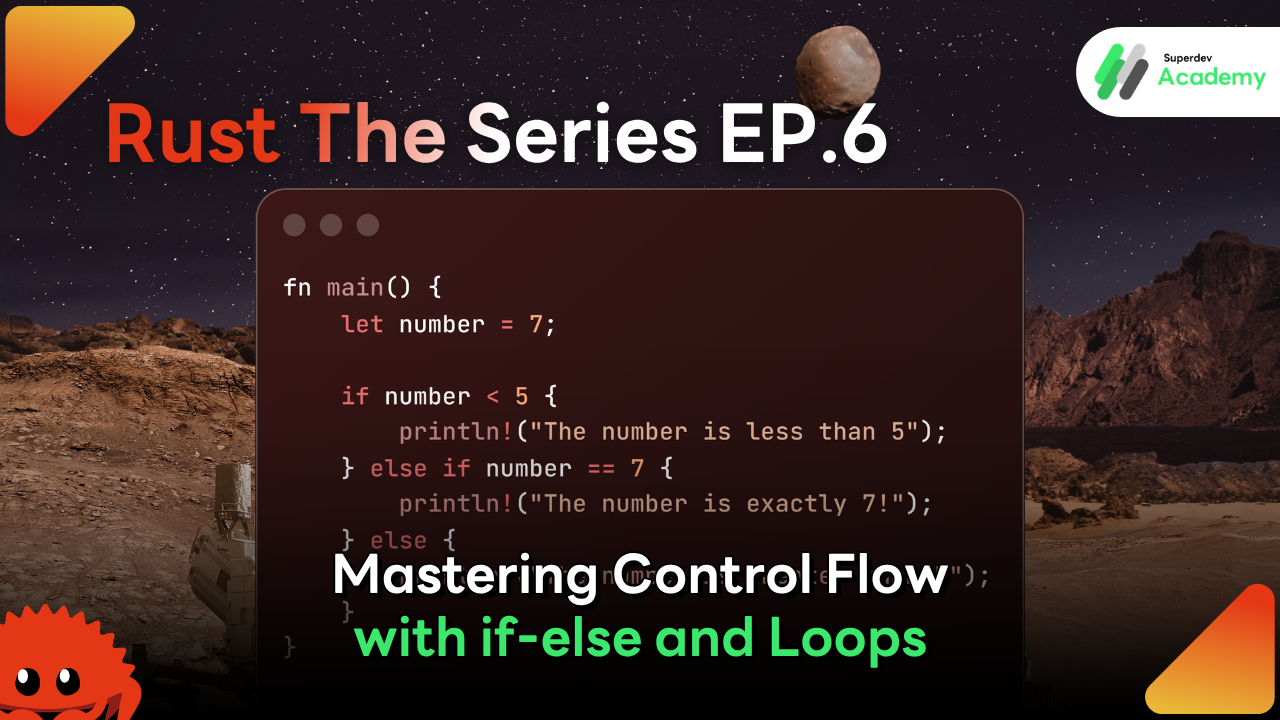
fn main() {
    let number = 7;

    if number < 5 {
        println!("The number is less than 5");
    } else if number == 7 {
        println!("The number is exactly 7!");
    } else {
        println!("The number is greater than 5");
    }
}
🔥 Rust Trick: In Rust, if is an Expression. This means we can use if to assign a value directly to a variable! (Similar to the Ternary Operator ? : in other languages).
Rust
fn main() {
    let condition = true;
    // Assign a value to `number` based on the `condition`
    let number = if condition { 5 } else { 6 };

    println!("The value of number is: {}", number); // Output: 5
}
Caution: The values returned from each block (if and else) must be of the exact same Data Type.
2. Infinite Looping with loop
The loop keyword is used to execute a block of code continuously and infinitely until you explicitly tell it to stop using the break command (you can also skip the current iteration and move to the next one using the continue command).
Rust
fn main() {
    let mut counter = 0;

    loop {
        counter += 1;

        if counter == 3 {
            println!("Skipping iteration 3");
            continue; // Skip immediately to the next iteration
        }

        println!("Iteration {}", counter);

        if counter == 5 {
            println!("That's enough, stop!");
            break; // Exit the loop immediately
        }
    }
}
Furthermore, we can use break to return a value from a loop. This is incredibly useful when you need to iterate to calculate or find a specific value. (Note: Beginners often miss this. Notice that at the end of the loop block };, there must always be a closing semicolon ; because, in this context, it is a let variable declaration statement.)
Rust
fn main() {
    let mut counter = 0;

    let result = loop {
        counter += 1;
        if counter == 10 {
            break counter * 2; // Stop the loop and return counter * 2 as an expression
        }
    }; // <--- Don't forget the closing semicolon here!

    println!("The result is {}", result); // Output: 20
}
🔥 Rust Trick: Loop Labels When writing nested loops and you want to break or continue pointing specifically to the "outermost loop," Rust allows you to label your loops! You do this by using a single quote ' before the label name. For example:
Rust
fn main() {
    let mut count = 0;

    'outer: loop { // Name this loop as 'outer
        println!("Starting outer loop, iteration {}", count);
        let mut inner_count = 2;

        loop {
            println!("  Inner loop inner_count = {}", inner_count);
            if inner_count == 1 {
                break; // Normal break, stops only the "inner loop"
            }
            if count == 2 {
                break 'outer; // Breaks entirely out of the 'outer loop immediately!
            }
            inner_count -= 1;
        }
        count += 1;
    }

    println!("Escaped from all loops! (count = {})", count);
}
3. Conditional Looping with while
If we want to loop by checking a condition first every time, while is the right answer. The loop will execute as long as the condition remains true and will stop immediately when the condition becomes false.
Rust
fn main() {
    let mut number = 3;

    while number != 0 {
        println!("{}!", number);
        number -= 1; // Decrease the value of number by 1
    }

    println!("LIFTOFF!!!");
}
🔥 Rust Trick: while cannot return values like loop!
In the previous section, we saw the cool ability of loop to use break along with returning a value. But for while, we cannot do that. The reason is that a while loop has a chance of "not executing even a single time" (if the condition is false from the start). Rust, which prioritizes safety, does not allow extracting a value from a while loop (it will always return an empty value called the Unit Type ()).
👉 So, a simple rule to remember: If you just need to loop to check a condition, use
while. But if you need to loop to "find and return a value," useloop.
4. Looping Through Collections with for
The for loop is arguably the hero of looping in Rust because it's easy to use, safe, and reduces the chance of bugs (like accessing a non-existent index, or out-of-bounds errors). It is often used with Arrays, Vectors, or when creating a Range of numbers.
Using for with an Array:
Rust
fn main() {
    let a = [10, 20, 30, 40, 50];

    for element in a {
        println!("The value is: {}", element);
    }
}
Using for with a Range (Number sequence):
Rust
fn main() {
    // 1..4 means 1 to 3 (excluding 4)
    // .rev() is used to reverse the sequence (counting backwards)
    for number in (1..4).rev() {
        println!("{}!", number);
    }
    println!("LIFTOFF!!!");
}
🔥 Rust Trick: Include the last number with an Inclusive Range (..=)
Sometimes using 1..4 can be confusing as to which number it ends on. Rust has another syntax, ..= (adding an equal sign), which means "include the last number too". For example:
Rust
fn main() {
    // 1..=3 means 1 to 3 (including 3!). Much easier to read.
    for number in (1..=3).rev() {
        println!("{}!", number);
    }
}
Summary
Control Flow in Rust is designed to be concise and highly safe. Having an accurate understanding of how if-else, loop, while, and for work will help you write your program's logic smoothly.
📌 In the next EP (EP.7):
We will step into the "core" that makes Rust completely different and the most powerful language: Ownership. It is the system used to manage memory without relying on a Garbage Collector and without slowing down the program! Get ready, and see you in the next article. 🦀
🎯 Stay Tuned with Superdev Academy:
Don't miss out on deep-dive technical articles and updates. Follow us on all platforms:
🔵 Facebook: Superdev Academy Thailand
🎬 YouTube: Superdev Academy Channel
📸 Instagram: @superdevacademy
🎬 TikTok: @superdevacademy
🌐 Website: superdevacademy.com