View : 234
07/06/2026 06:44am
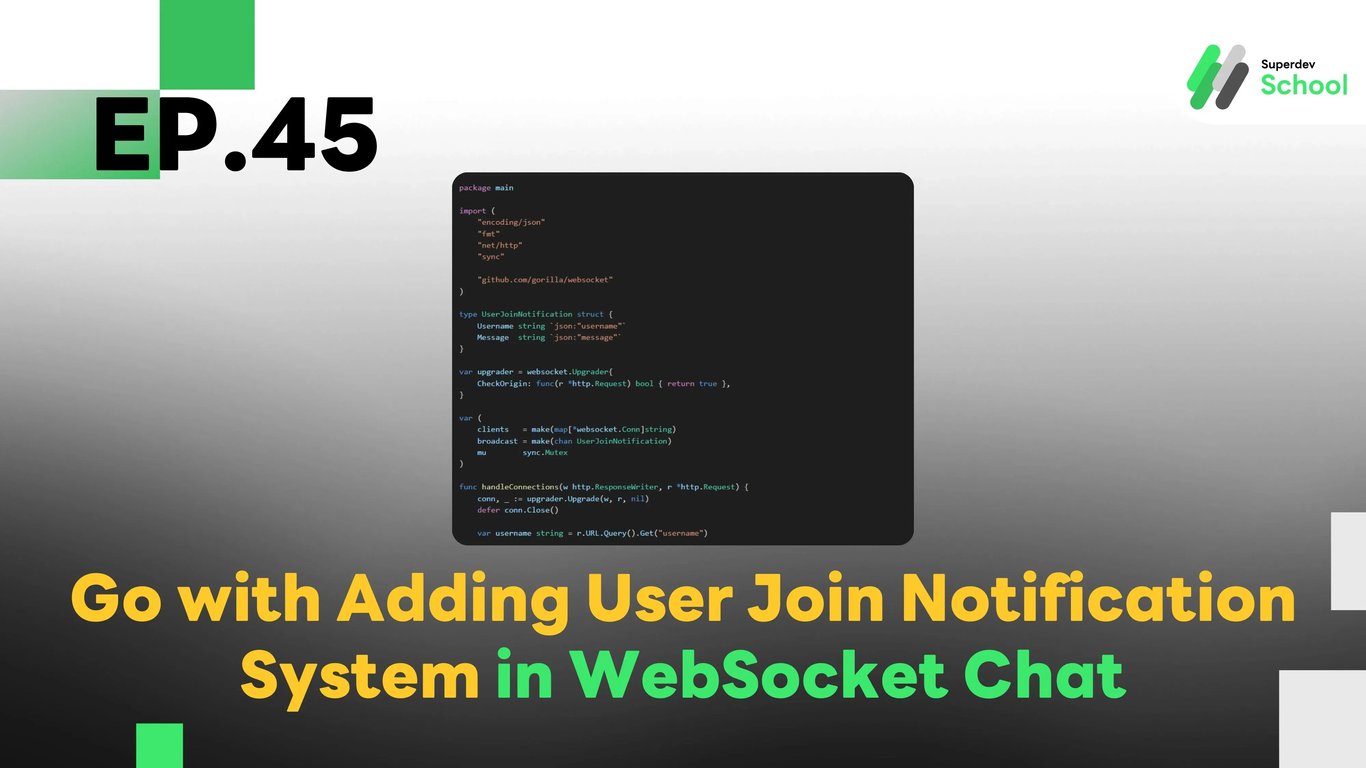
EP.45 Adding User Join Notification System in WebSocket Chat
#Active Users
#Chat Notifications
#Chat UX
#WebSocket API
#Real-Time Chat
#Golang
#Go
#WebSocket
#User Join Notification
Why Have a User Join Notification System?
The User Join Notification system helps:
- Notify Existing Users: Users in the chat room can be aware when new members join.
- Encourage Interaction: Fosters engagement among users, creating a lively chat environment.
- Ideal for Community or Group Chats: Makes it easier for members to greet and interact with newcomers.
Structure of the User Join Notification System in WebSocket Chat
- WebSocket Server: Detects new connections and broadcasts notifications to all users.
- Frontend (Client-Side): Displays notification messages when a new user joins.
- Database (Optional): Can store user join history for analysis purposes.
Adding the User Join Notification Feature to the WebSocket Server
1. Upgrade the WebSocket Server to Support New User Notifications
File: websocket_server.go
package main

import (
    "encoding/json"
    "fmt"
    "net/http"
    "sync"

    "github.com/gorilla/websocket"
)

type UserJoinNotification struct {
    Username string `json:"username"`
    Message  string `json:"message"`
}

var upgrader = websocket.Upgrader{
    CheckOrigin: func(r *http.Request) bool { return true },
}

var (
    clients   = make(map[*websocket.Conn]string)
    broadcast = make(chan UserJoinNotification)
    mu        sync.Mutex
)

func handleConnections(w http.ResponseWriter, r *http.Request) {
    conn, _ := upgrader.Upgrade(w, r, nil)
    defer conn.Close()

    var username string = r.URL.Query().Get("username")

    mu.Lock()
    clients[conn] = username
    mu.Unlock()

    broadcast <- UserJoinNotification{Username: username, Message: fmt.Sprintf("%s เข้าร่วมแชทแล้ว!", username)}

    for {
        _, _, err := conn.ReadMessage()
        if err != nil {
            mu.Lock()
            delete(clients, conn)
            mu.Unlock()
            break
        }
    }
}

func handleMessages() {
    for {
        notification := <-broadcast
        fmt.Printf("User Joined: %s\n", notification.Message)

        for client := range clients {
            err := client.WriteJSON(notification)
            if err != nil {
                client.Close()
                mu.Lock()
                delete(clients, client)
                mu.Unlock()
            }
        }
    }
}

func main() {
    http.HandleFunc("/ws", handleConnections)
    go handleMessages()
    fmt.Println("WebSocket Server Running on Port 8080")
    http.ListenAndServe(":8080", nil)
}
2. Adding User Join Notification Functionality in the Frontend (Client-Side)
File: client.js
const username = prompt("Enter your username:");
const socket = new WebSocket(`ws://localhost:8080/ws?username=${username}`);
const notificationsContainer = document.getElementById("notifications");

socket.onmessage = (event) => {
    const data = JSON.parse(event.data);
    showNotification(data.message);
};

function showNotification(message) {
    const notificationElement = document.createElement("p");
    notificationElement.innerText = message;
    notificationsContainer.appendChild(notificationElement);
}
Displaying User Join Notification on the UI
File: index.html
<div id="notifications"></div>3. Testing the System
- Run the WebSocket Server
go run websocket_server.go- Open Multiple Browser Tabs and Log in with different usernames
- Observe Results at WebSocket Server and UI
Challenge!
Try adding a User Leave Notification system to inform chat members when someone exits the chat room. This will enhance the user experience by keeping everyone updated on who is present.
Next EP
In EP.46, we will add a Custom User Status feature in the WebSocket Chat! 🚀