07/06/2026 06:44am
EP. 36 Adding Authentication to WebSocket Chat
#Token-Based Authentication
#Chat Security
#Golang
#Go
#WebSocket Security
#Secure WebSocket
#User Authentication
#JWT
#WebSocket Authentication
Why Add Authentication to WebSocket Chat?
Using WebSocket in a chat system allows for real-time message exchange, but without an authentication system, anyone can access the chat without logging in. This can lead to security issues such as:
- Unauthorized individuals can eavesdrop or send messages.
- Access permissions for individual users cannot be restricted.
- There is no verification of the identity of the message sender.
Therefore, using JWT (JSON Web Token) for authentication and controlling access permissions in WebSocket is a suitable approach.
Structure of the Authentication System in WebSocket Chat
- User Authentication - Users log in and receive a JWT Token.
- WebSocket Server - Validates the Token before allowing connections.
- GraphQL API - Uses JWT to identify users when sending and receiving messages.
- Database (PostgreSQL / MongoDB) - Stores user account information and messages.
Install Necessary Libraries
go get github.com/dgrijalva/jwt-go
go get github.com/gorilla/websocket
Creating User Authentication with JWT
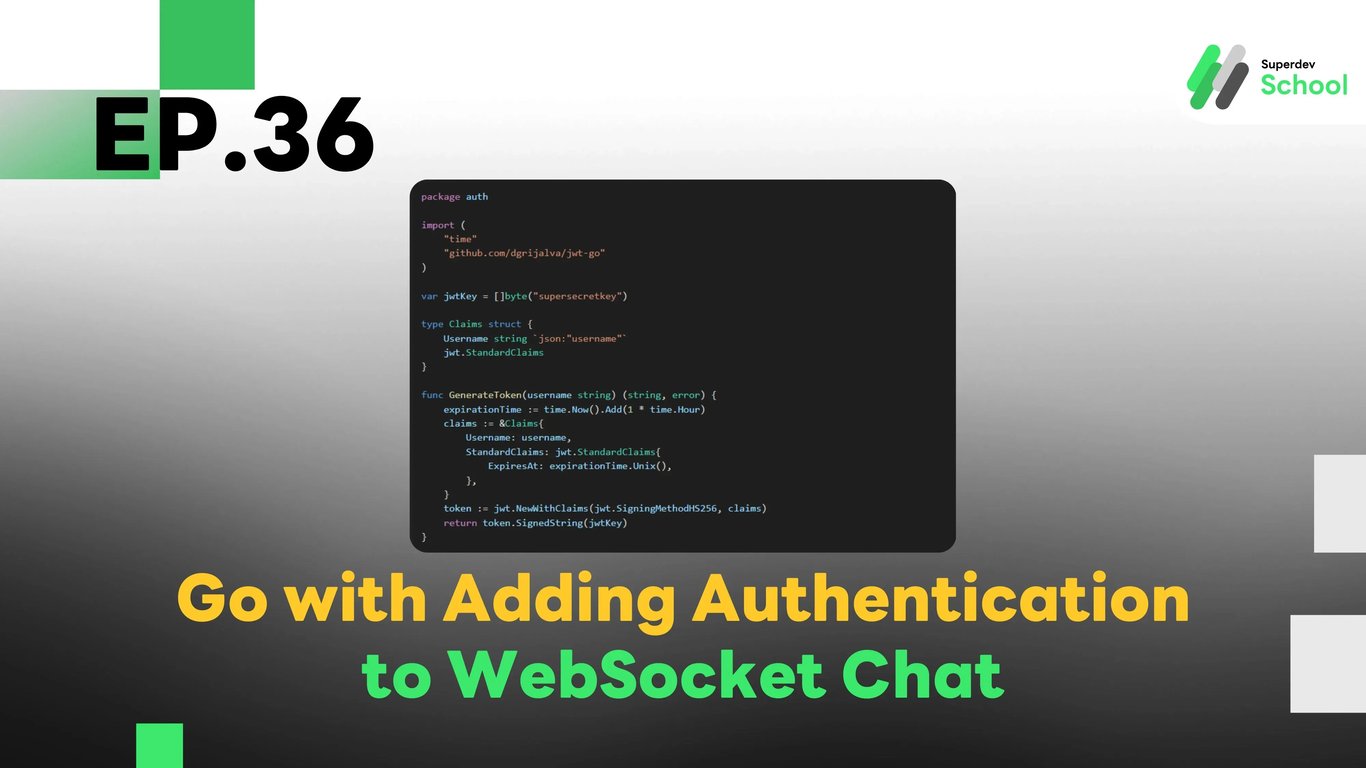
1. Generating JWT Tokens for Users
File: auth.go
package auth

import (
    "time"
    "github.com/dgrijalva/jwt-go"
)

var jwtKey = []byte("supersecretkey")

type Claims struct {
    Username string `json:"username"`
    jwt.StandardClaims
}

func GenerateToken(username string) (string, error) {
    expirationTime := time.Now().Add(1 * time.Hour)
    claims := &Claims{
        Username: username,
        StandardClaims: jwt.StandardClaims{
            ExpiresAt: expirationTime.Unix(),
        },
    }
    token := jwt.NewWithClaims(jwt.SigningMethodHS256, claims)
    return token.SignedString(jwtKey)
}
2. Validating JWT Token in the WebSocket Server
File: websocket_server.go
package main

import (
    "fmt"
    "github.com/dgrijalva/jwt-go"
    "github.com/gorilla/websocket"
    "net/http"
    "strings"
)

var upgrader = websocket.Upgrader{
    CheckOrigin: func(r *http.Request) bool { return true },
}

func authenticateToken(tokenString string) (*jwt.Token, error) {
    return jwt.Parse(tokenString, func(token *jwt.Token) (interface{}, error) {
        return []byte("supersecretkey"), nil
    })
}

func handleWebSocket(w http.ResponseWriter, r *http.Request) {
    authHeader := r.Header.Get("Authorization")
    tokenString := strings.TrimPrefix(authHeader, "Bearer ")
    token, err := authenticateToken(tokenString)
    if err != nil || !token.Valid {
        http.Error(w, "Unauthorized", http.StatusUnauthorized)
        return
    }
    conn, _ := upgrader.Upgrade(w, r, nil)
    defer conn.Close()
    fmt.Println("Client connected with valid token")
}

func main() {
    http.HandleFunc("/ws", handleWebSocket)
    fmt.Println("WebSocket Server Running on Port 8080")
    http.ListenAndServe(":8080", nil)
}
Connecting WebSocket Client with JWT Token
File: client.js
const token = "your_jwt_token_here";
const socket = new WebSocket("ws://localhost:8080/ws", ["Authorization", `Bearer ${token}`]);

socket.onopen = () => {
    console.log("Connected to WebSocket server");
};

socket.onmessage = (event) => {
    console.log("Message from server:", event.data);
};
Challenge!
Try adding Role-Based Access Control (RBAC) to your chat system so that different user roles can perform different actions. For example, an Admin can delete messages, while regular users cannot.
Next EP
In EP.37, we will create a chat room management system that allows users to join or create chat rooms! 🚀