07/06/2026 06:44am

What is Docker? A Complete Guide for Beginner Developers
#Docker
#Docker vs VM
#Docker Compose
#Docker Fundamentals
#Docker Tutorial
Have you ever developed a project on your local machine where everything ran perfectly without a single error, only to have it break completely when you handed it over to a teammate or deployed it to a production server?
The phrase "It works on my machine!" has become a classic pain point that causes significant delays in development. We often waste hours or even days troubleshooting repetitive issues such as:
Mismatched versions of Node.js or Python between different machines.
Missing libraries that were forgotten during the installation process.
Inconsistent configurations across different operating systems like Windows, macOS, or Linux.
These issues are known as Environment Mismatch—an inconsistency in the application's runtime environment. This serves as a major barrier to effective collaboration and makes maintaining system stability a difficult task.
Docker is the solution to this problem. Docker was built to eliminate these headaches with a core philosophy: "If it runs on your machine, it should run anywhere." It allows you to deploy applications without the need for constant, manual environment re-setup.
In this article, we will explore how Docker transforms your workflow to be more efficient and why it is a must-have tool for everyone from Developers to DevOps engineers today.
What is Docker?
To explain it simply using logistics principles, Docker acts like a "Shipping Container."
In the past, moving software from one machine to another often led to issues like missing libraries or incompatible operating system versions. Docker solves this by bundling the Code, Runtime, Libraries, and Config—everything required to run the application—into a single Container.
As a result, whether you run this container on a teammate's machine, a local server, or the cloud, the application will perform identically 100% of the time, because all its dependencies are already packaged inside.
Docker vs. Virtual Machine (VM)
The most significant difference is that "Docker does not need to install a new Operating System (OS) inside it."
While a VM (such as VMware or VirtualBox) creates an entirely virtualized computer, including a full Guest OS—which consumes high resources and takes a long time to boot—Docker shares the OS Kernel directly with the host machine. This makes it significantly faster and much more resource-efficient.
Comparison Table: Docker vs. VM
Feature | Virtual Machine (VM) | Docker Container |
Operation | Virtualizes hardware and installs a full OS | Shares the OS Kernel with the Host |
Speed | Slow (long OS boot time) | Fast (starts almost instantly) |
Resource Usage | High (allocates RAM and CPU per OS) | Low (uses only what the app requires) |
File Size | Large (GB range) | Small (MB range) |
In Summary: If a VM is like simulating an entire house just to run one appliance, Docker is like running that appliance using the existing infrastructure while maintaining Isolation for easy portability and management.
Core Concepts You Need to Know
To understand how Docker works, you must be familiar with these three main components:
1. Docker Image (The Blueprint)
A Docker Image is a read-only file containing the instructions, configurations, and libraries required to run an application. Think of it as a blueprint or an ISO file. An image itself is not executable; its purpose is to serve as a template for creating Containers.
2. Docker Container (The Runtime Environment)
When you tell Docker to start an image, it creates a Container. This is the actual application running in memory. You can launch multiple Containers from a single Image, and each Container operates in an isolated environment, ensuring they do not interfere with one another.
3. Docker Hub / Registry (The Image Repository)
A Registry is a central location for storing and sharing Docker Images, similar to how GitHub stores code. Docker Hub is the most popular public registry. You can easily "Pull" (download) standard images created by the community—such as MySQL, Redis, or Nginx—to use instantly, or you can upload your own custom images to store them in the cloud.
Why Use Docker? (Key Advantages)
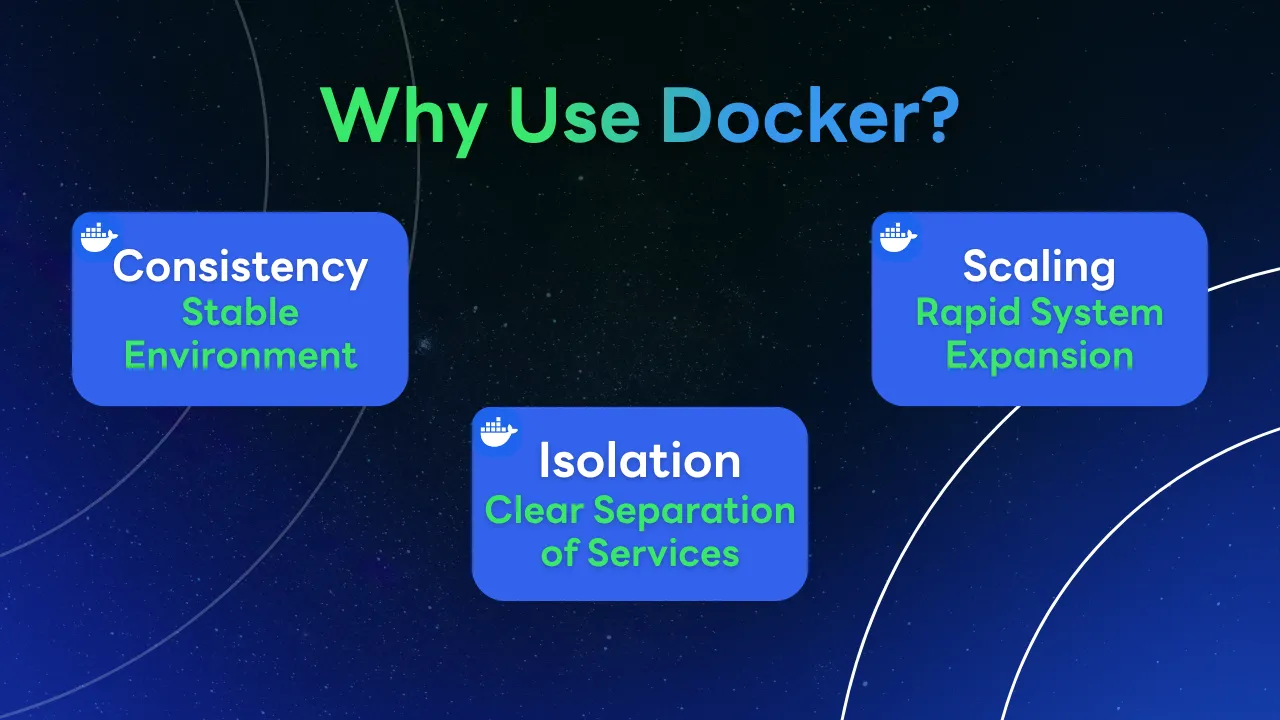
The reason Docker has become the industry standard in software development is based on three primary factors:
1. Consistency: Stable Environment
Docker completely eliminates the "It works on my machine" problem. Because the entire environment is locked within an Image, your application will run 100% identically whether it is on Windows, macOS, or a Cloud Server. You no longer have to worry about missing libraries or mismatched software versions.
2. Isolation: Clear Separation of Services
You can run multiple applications with different Dependencies on the same machine without any conflicts. For example, an older project may require PHP 7.4 while a new one uses PHP 8.2. Conventional installation on a single machine would be complex and messy, but with Docker, you simply run them in separate Containers. Each remains independent and secure.
3. Scaling: Rapid System Expansion
Docker is designed to be lightweight and fast to start. As your user base grows, you can spin up or scale the number of Containers to handle the increased load within seconds. This makes managing large-scale systems or Microservices architectures highly efficient and time-saving.
Docker Compose: Managing Multiple Systems with One File
In real-world scenarios, an application usually consists of multiple components working together, such as a Frontend, Backend, and Database. Using standard Docker commands would require you to run each container individually and manually configure networks so they can communicate, which is tedious and prone to errors.
What is Docker Compose?
Docker Compose is a tool for defining and running multi-container applications. By using a single configuration file in YAML (.yml) format, you can specify all your service requirements in one place. Instead of typing long, complex commands in the terminal, Docker Compose automates the orchestration for you.
Why Use Docker Compose?
Centralized Configuration: Consolidate settings for all services, networks, and volumes into a single file.
Simplified Management: Start, stop, or remove the entire system with a single command.
Consistency: Ensure everyone on the team runs the system with 100% identical settings by referencing the same file.
Configuration Example (docker-compose.yml)
Here is an example of configuring a Web Server (Nginx) and a Database (MySQL) to work together:
YAML
services:
  web-app:
    image: nginx:latest
    ports:
      - "80:80"
  database:
    image: mysql:8.0
    environment:
      MYSQL_ROOT_PASSWORD: example_password
Usage: docker-compose up -d
Once your file is ready, you can launch the entire system immediately via the terminal:
docker-compose up: Instructs Docker to create and start every container defined in the file.-d(Detached mode): Runs the containers in the background, allowing you to continue using your terminal for other tasks.
With this, all specified services are created, networked together, and ready for use instantly.
The Development Workflow: Build - Ship - Run
To visualize how Docker integrates into the software development lifecycle, we can break down the process into three primary stages:
1. Build: Creating the Blueprint (Dockerfile)
The first step is writing a Dockerfile, a plain text file containing instructions to build the environment your application requires. This includes selecting a base operating system, specifying language versions (such as Python or Node.js), installing libraries, and copying your source code into the image.
Once the file is ready, you use the docker build command to transform the Dockerfile into a ready-to-use Docker Image.
2. Ship: Storage and Distribution (Registry)
After creating the Docker Image, it is uploaded to a Container Registry (such as Docker Hub or GitHub Container Registry), which acts as a centralized repository for images.
This stage allows your development team or automated systems (CI/CD) to "Pull" the image from anywhere in the world. This eliminates the need to manually send source code or re-configure environments on different machines.
3. Run: Deployment (Container)
The final step is taking the image from the registry and running it on the target machine—whether it’s a teammate’s computer, a local server, or a cloud platform—using the docker run command.
The system pulls the image and converts it into a Container that starts working immediately. Because the internal environment is 100% identical to the source where the image was built, it completely eliminates errors caused by machine inconsistencies.
Getting Started
Now that you understand the theory, you can start using Docker in 3 simple steps:
1. Installing Docker Desktop
The easiest way for beginners is to install Docker Desktop. It provides a User Interface (UI) to manage containers easily and is available for both Windows and macOS. (For Linux, it is recommended to install via your distribution's official repository.)
Download: docker.com/products/docker-desktop
Pro Tip: For Windows users, it is highly recommended to enable WSL 2 (Windows Subsystem for Linux) for the best performance.
Verification: Once installed and launched, look for the "Whale" icon in your Menu Bar or Taskbar. If it appears, Docker is ready to go.
2. Testing with Hello World
Verify your installation by running your very first container. Open your Terminal or Command Prompt and type:
Bash
docker run hello-world
What happens behind the scenes:
Docker checks if the
hello-worldimage exists locally.If not found, it automatically Pulls the latest image from Docker Hub.
Docker creates a container from that image and runs it to display a greeting message.
Once finished, the container automatically stops (Exited).
3. Essential Basic Commands
These are the three commands you will use most frequently:
docker ps: Lists all currently running containers. (Usedocker ps -ato see all containers, including stopped ones.)docker images: Lists all Docker Images currently stored on your machine.docker stop [ID or Name]: Stops a running container. You can use either the Container ID or the name assigned by the system.
Conclusion and Next Steps
In modern software development, Docker is no longer just an option; it has become a standard industry requirement for tech professionals. By bundling everything into a container, you don't just eliminate Environment Mismatch issues—you also collaborate faster, deliver more accurately, and manage large-scale systems with better organization. Once you master Docker, you’ll never want to go back to manual environment setup again.
Your Next Steps
This article is just the beginning to give you the big picture. Here’s what you should do next:
Install Docker Desktop: Start running basic commands on your own machine.
Learn to write a Dockerfile: Try creating an image for an application you’ve developed.
Explore Docker Compose: Practice managing multi-part systems, such as connecting a Web App to a Database.
Stay tuned! In the next article, we will dive deep into "How to write a Dockerfile for real-world projects" and advanced Docker Compose techniques to help you integrate them into your actual workflow immediately.
If you run into issues with hello-world or want us to cover Docker for specific languages like Python, Node.js, or Rust, feel free to leave a comment and chat with us at Superdev Academy!
Follow Superdev Academy on all platforms:
🔵 Facebook: Superdev Academy Thailand
🎬 YouTube: Superdev Academy Channel
📸 Instagram: @superdevacademy
🎬 TikTok: @superdevacademy
🌐 Website: superdevacademy.com